Create Work Plan Notifications
This article explains how to create Work Plan notifications from the OnePlan Work Planner.
Work Plan notifications are separate from general OnePlan notifications and can be configured by plan owners directly from their plans.
Create a Work Plan Notification
To configure Work Plan notifications:
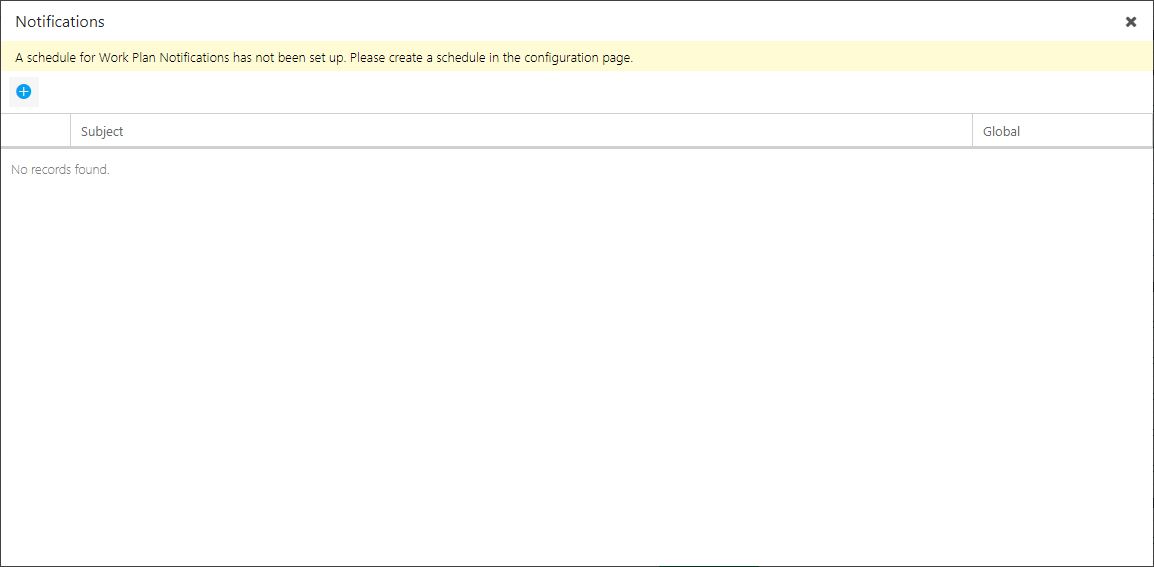
From a plan's Work Plan List view, click the Grid Options menu > Notifications. The Notifications form will open. If there are already notifications configured for this plan, or there are global Work Plan notifications configured, they will be listed on this screen.

Note
If you are configuring task notifications for the very first time, you may receive the warning message shown in the image below stating "A schedule for Work Plan Notifications has not been set up. Please create a schedule in the configuration page". Your OnePlan administrator needs to configure and enable the Task Notification schedule in the OnePlan configuration page.
Click Add Notification
 , and the Add Notification form will open.
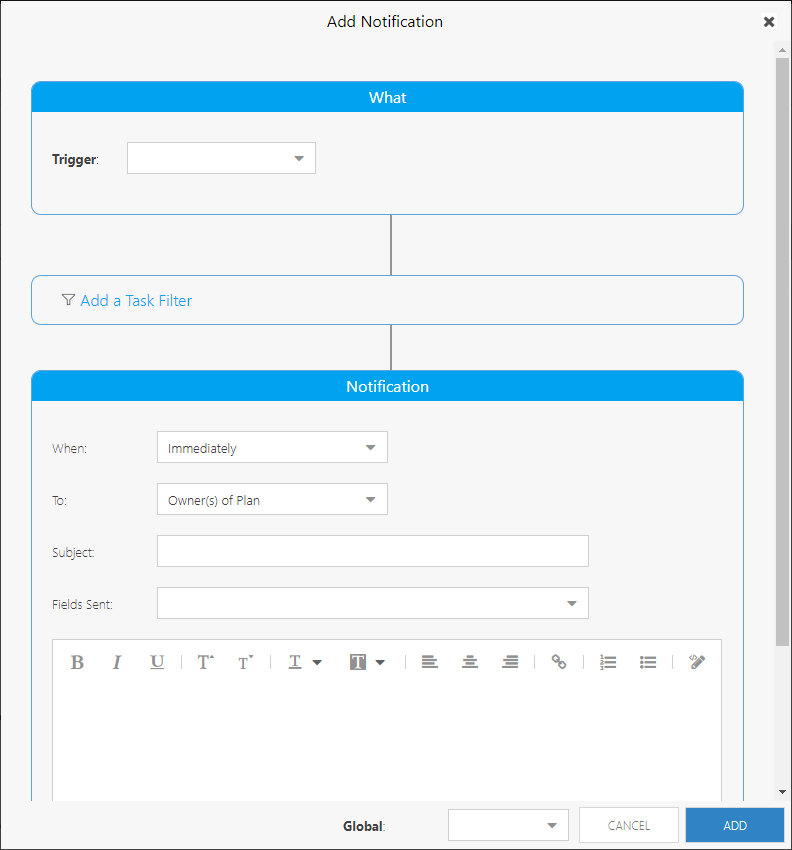
Complete the Add Notification form.
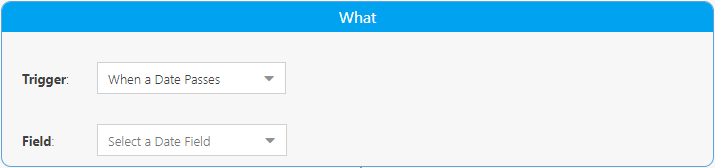
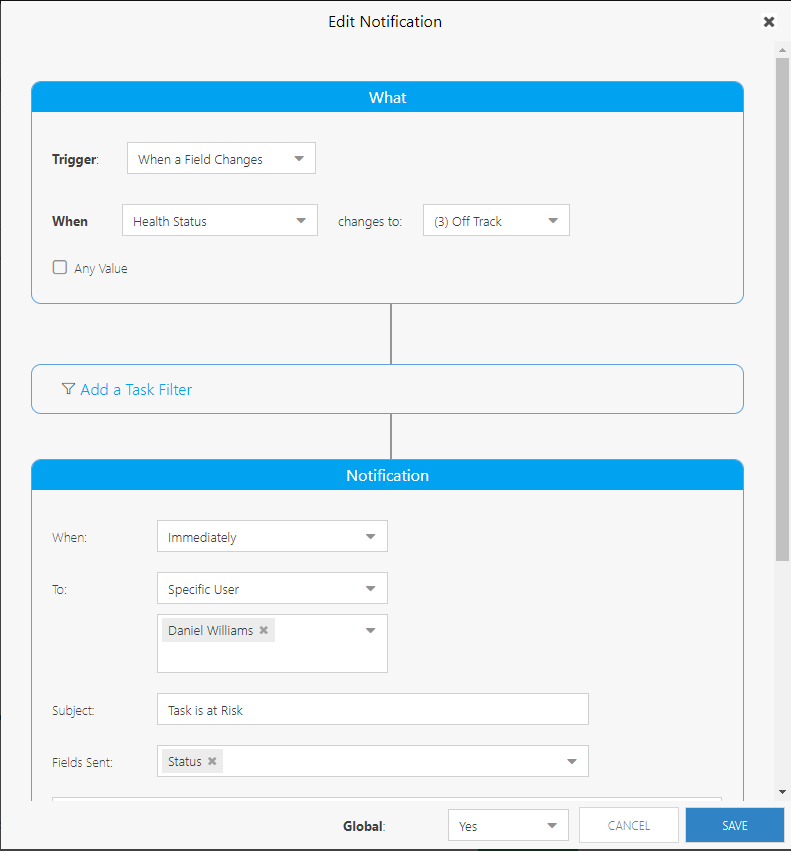
Complete the What section of the form.
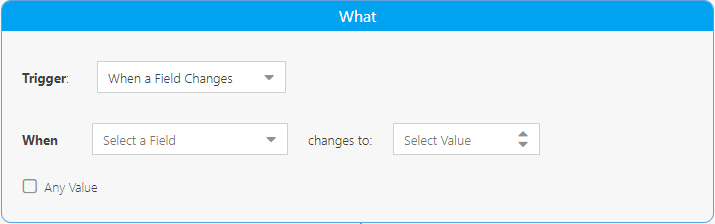
Select a trigger from the Trigger drop-down. Options include When a Field Changes or When a Date Passes. The form changes dynamically based on your choice.
If you select When a Field Changes, two additional fields and a check box will appear.
First, select a field from the Select a Field drop-down. When there are changes to the selected field, a notification will be triggered.
Next, set a value in the Value field. This field will either be a number field or a drop-down based on the field you selected. This setting will trigger the notification when the field value is set to the selected value.
If you want a notification to trigger when the selected field changes at all (you do not care about the value it changes to), leave the Value field blank and check the Any Value checkbox.
If you select When a Date Passes, one additional field will appear.
Select a date field from the Select a Field drop-down. When the date in the selected field passes, a notification will be triggered.
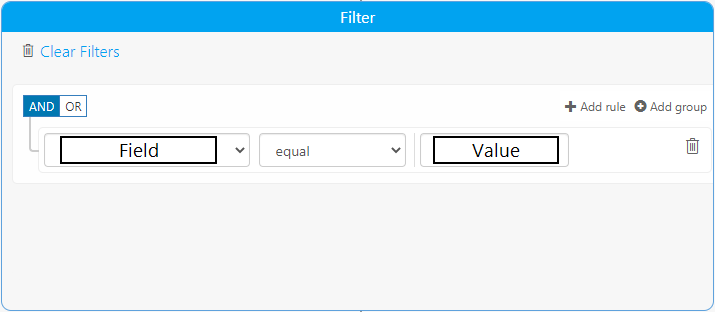
(Optional) add filters to your notification. If you would like to further refine the tasks that will trigger a notification, you can add filters. For example, you only want a notification to trigger when a task is 50% complete and is At Risk.
Select a field to filter on from the drop-down. The filter parameters will dynamically appear once you select a field.
Select an inequality from the drop-down. Options in this drop-down will change based on the field selected, but will always include Equal and Not Equal.
Select a value to filter from the drop-down. This field will either be a number field or a drop-down based on the field you selected. This setting will filter tasks when a field value is set to the selected value.
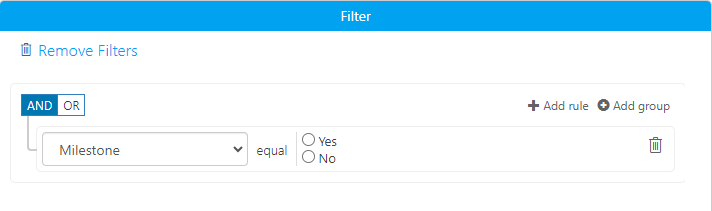
Note
As of December 15, 2023, Work Plan notifications can be filtered based on the milestone field. This is helpful if you only want to trigger a notification on milestones in your work plan.
Complete the Notification section of the form.
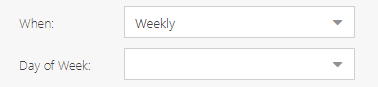
Select when the notification will send an email to the set recipients from the When drop-down. Options include Immediately (will send out a notification once the trigger parameters are met and will only send the notification once), Daily (will send out the notification once the trigger parameters are met, and will continue to send out the notification once a day until the task has been updated) and Weekly (will send out the notification once the trigger parameters are met, and will continue to send out the notification once a week on the specified day until the task has been updated).
If you select Weekly, the Day of Week field will appear. Select the day of the week you want the notification to be sent to the recipients.
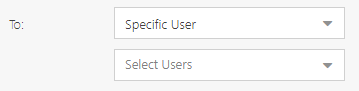
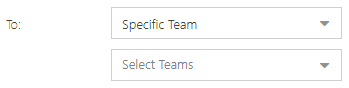
Select the notification recipients from the To drop-down. Options include Owner(s) of Plan (will send the notification to all users with Owner permissions in the plan's Share With form), Field (will send the notification to users based on the Work field selected), Specific User (will send the notification to the specific user(s) selected), and Specific Team (will send the notification to the users who are part of the selected team(s)).
If you select Field, the Select Field field will appear. Select the Work field to set the recipients of the notification. Options here include Assigned Resources.

If you select Specific User, the Select User field will appear. Select the desired user(s) you want to receive the notification.
If you select Specific Team, the Select Team field will appear. Select the desired team(s) you want to receive the notification.
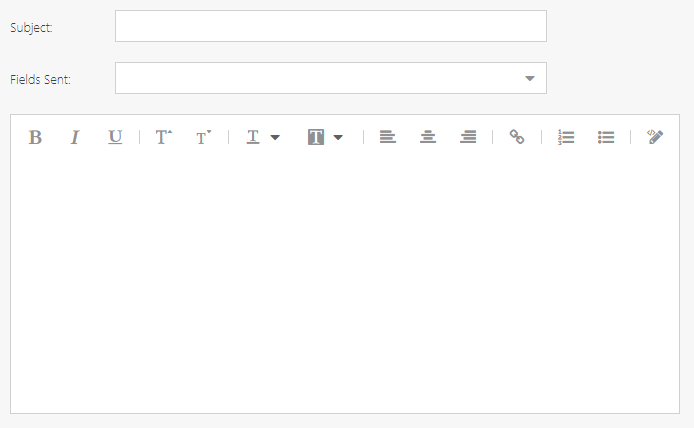
Enter a subject for the notification email.
(Optional) select the Work fields that you would like to include in the notification email. This will append the selected fields and their values to the bottom of the notification email.
Draft the body of the notification email.
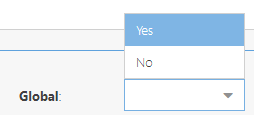
From the Global field, select whether the new notification will be a global Work Plan notification or not. If you select Yes, the notification will be available across all plans in your OnePlan environment. If you select No, the notification will only be available in the current plan.
Click Save. Your new notification is now active.
Edit a Work Plan Notification
To edit an existing Work Plan notification:
From a plan's Work Plan List view, click the Grid Options menu > Notifications. The Notifications form will open.
Click the Edit icon
 next to the desired notification. The Edit Notification form will open.
Update the notification settings as necessary.
Click Save to save your updates.
Delete a Work Plan Notification
To delete a Work Plan notification:
From a plan's Work Plan List view, click the Grid Options menu > Notifications. The Notifications form will open.
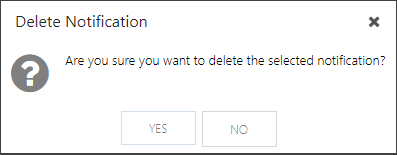
Click the Delete
 icon next to the desired notification. The Delete Notification pop-up will appear.
Click Yes to delete the notification.