Resource Plan Custom Fields Settings
On the Resource Plan settings page, expand the Custom Fields topic heading.
Use this feature to create custom fields in the Resource plan.
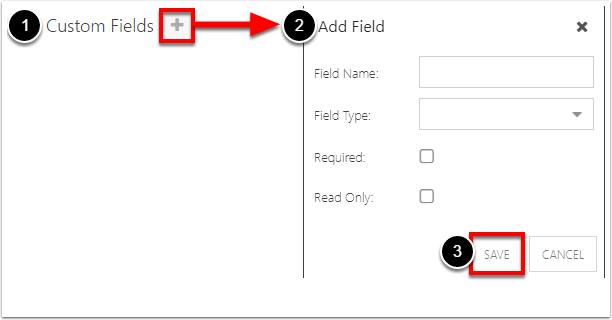
Add a Custom Field
Click the Add Custom Field (+) button.
Complete the Add Field form.
Field Name: Enter the name of the field.
Field Type: Select the type of field - Text, Date, Number, Currency, Yes/No, Choice, User
Required: Select the check box to make the field required.
Read Only: Select the check box to make the field read only.
Click SAVE.
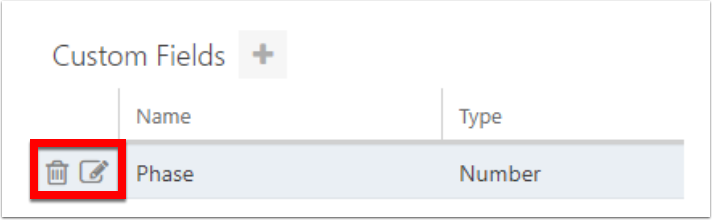
Manage Custom Fields
Edit - Open the Field form to edit the settings for the field.
Delete - Delete the field.
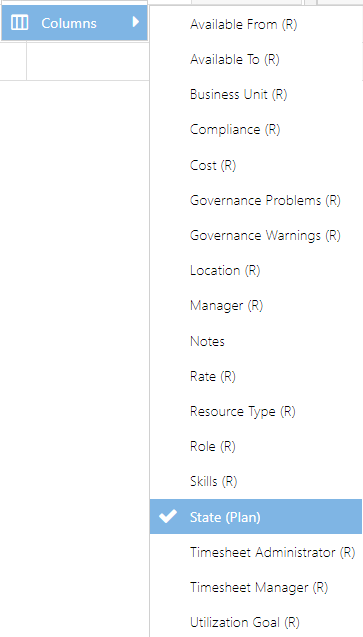
Select Plan-Level Fields
Plan level fields are available to be viewed, filtered, and sorted in the resource planner. This allows users to view data regarding a given plan without having to open up Plan Details or go to the plan itself. For example, you may want to allow the plan State field to display in the resource plan.
Select the desired plan-level fields from the Extra Plan Fields drop down. These fields will be available for users to add into their resource plan views.