How do I manage the Status Reports display settings?
This article explains how to configure the Status Reports in OnePlan. You must first install the Status Reports app and configure the schedule.
Navigate to the Admin pages, select Status Reports in the navigation. Then, expand the Form topic heading.
Expand Form Heading to Build out the Status Report Form
The method for building out the Status Report form is similar to how to build out the Plan Details form. For additional information, see Set up plan detail form layouts.
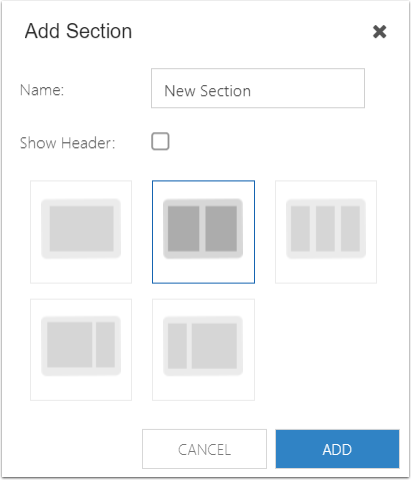
Add section(s) to the form.
Name the section.
Select the check box to show the header (the section name).
Select the number of columns.
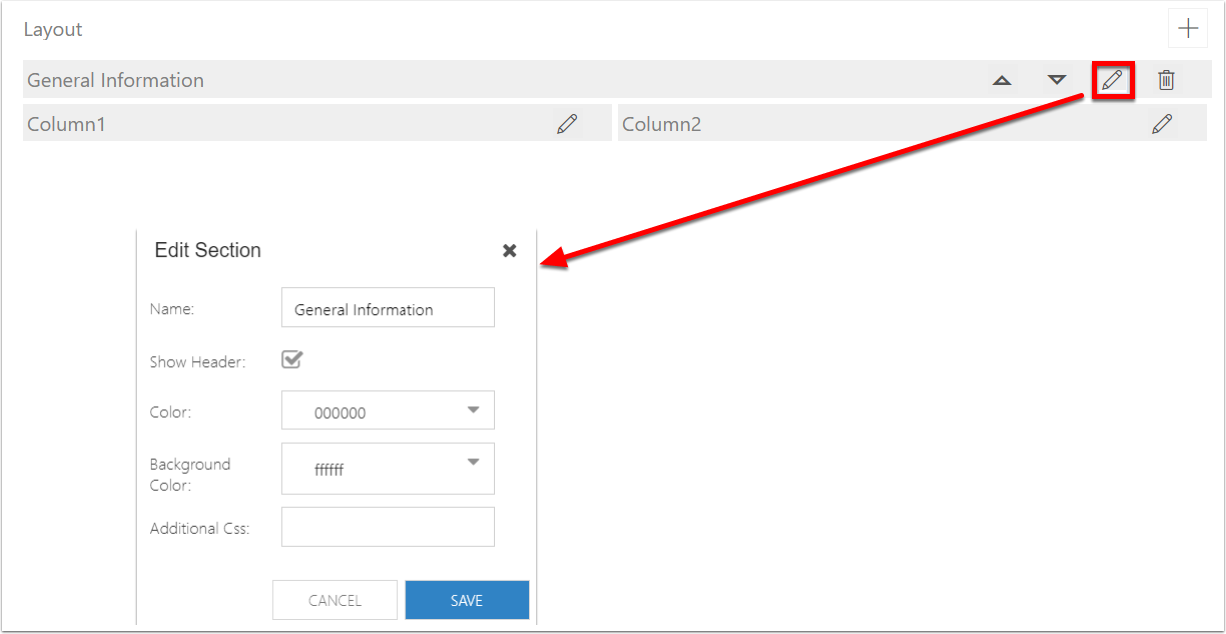
Modify the sections and columns as needed.
Move sections up & down using the arrow icons.
Click the Pencil icon to open the Edit Section/Column window. Update the name, select to show the header, update colors, and add additional Css (if needed).
Click the Save button.
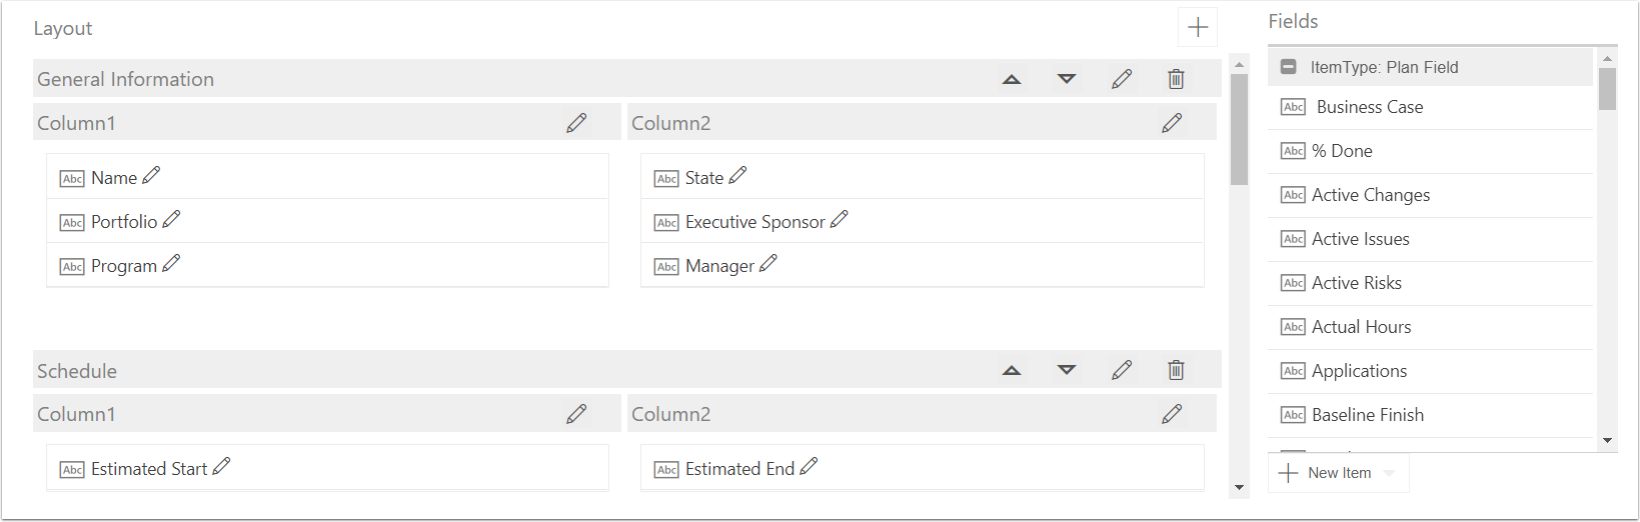
Add fields to the sections. There are Plan Fields, Report Fields (which are the Status Report dates), and Summary Fields.
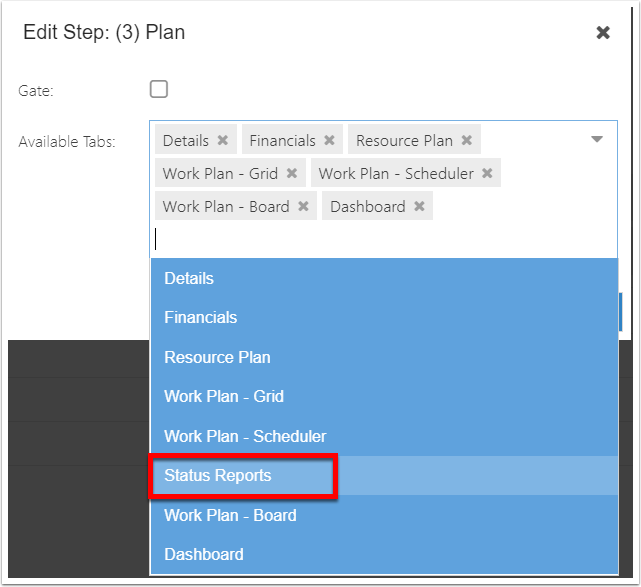
Show Status Reports on the Plan Navigation
Navigate to the Plan Details page.
Based on which process steps and which plan types you have configured the status reports to run, go to the Plan Details page for that/those plan type(s). Select a plan type. Under the Process Flow heading, select the applicable flow steps to show Status Reports tab in the plan navigation.
Be sure to click the Save button to save your changes.