Create a Modeler Model
This article explains how to create a Modeler model.
Create a New Model
To create a new model:
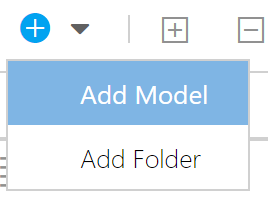
Select New Item > Add Model. The Add Model form will open.
Complete the Add Model form.
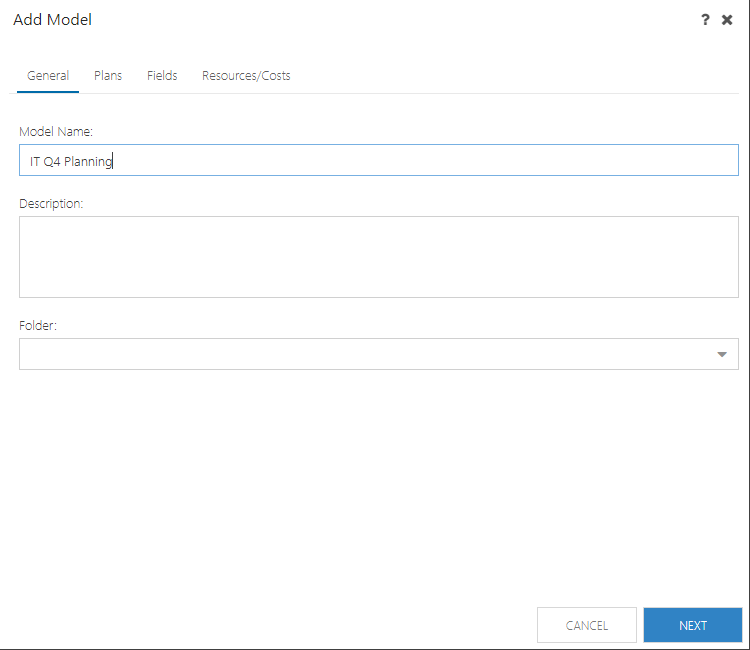
General Tab
Name: Enter a name for your model.
Description: Enter a description for your model.
Folder: Select the folder where you would like this model to be stored.
Plans Tab
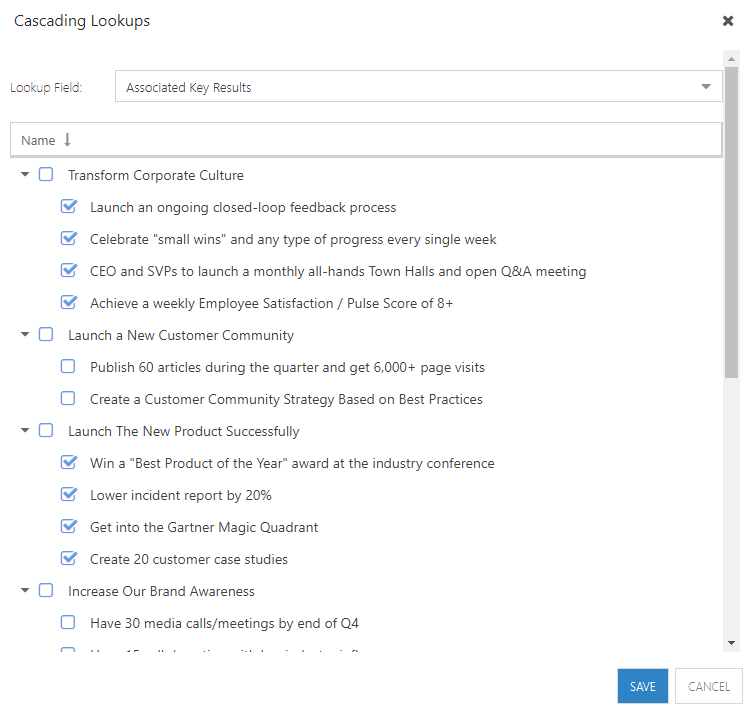
Filter Plan Lookups?: Select a lookup field to filter on related plans. In this example, I am filtering on Associated Key Results, so I am bringing in plans associated to particular key results.
Filter: Create an apply filters to refine the items that are brought into your model. In this example I applied filters so I am only bringing Projects into my model.

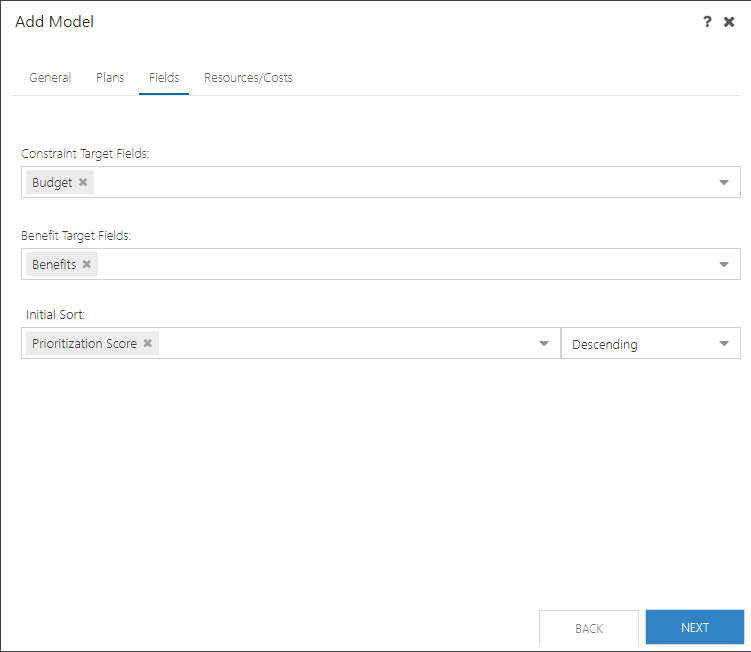
Fields Tab
Constraint Target Fields: Select the target field(s) where you want the scenario rollup values to be less than the selected target for your model. In this example I chose the plan-level field Budget.
Benefit Target Fields: Select the target field(s) where you want the scenario rollup values to be greater than the selected target for your model. In this example I chose the plan-level field Benefits.
Initial Sort: Select which field to sort the items in your model by. In this example I chose the plan-level field Prioritization Score as my sort by field.
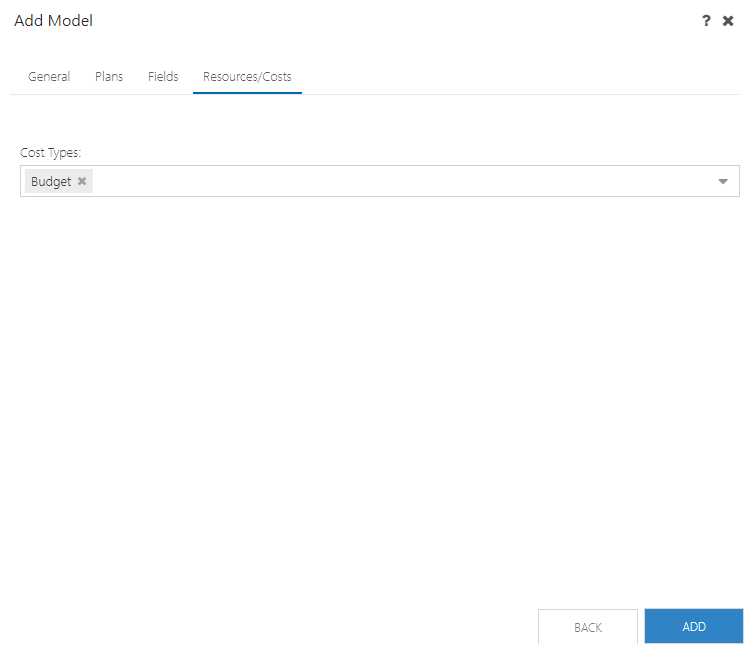
Resources/Costs Tab
Cost Types: Select the cost types you would like to load in for the financial and resource data in this model.
Note
If you do not select a resource plan or financial plan cost type, then the resource plan and/or financial plan options will not show in the model.
Click Add to create the model. The model is now available for analysis. See Create a Model Scenario and Analyze Model Scenarios for more information.
Copy a Model
You can also copy existing models to use as a base for a new model.
To copy a model:
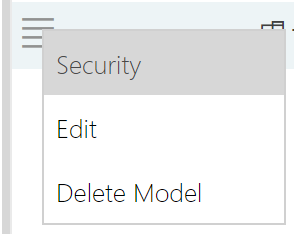
Click the hamburger menu next to the model you want to copy. Then select Copy Model. The Copy Model form will open.

Enter a name for your new copied model. This is required, and you cannot progress without giving your copied model a name.

Review the model settings by clicking Next to move through the Copy Model form.
If you are happy with the model settings, click Copy. A copy of the model will be created.

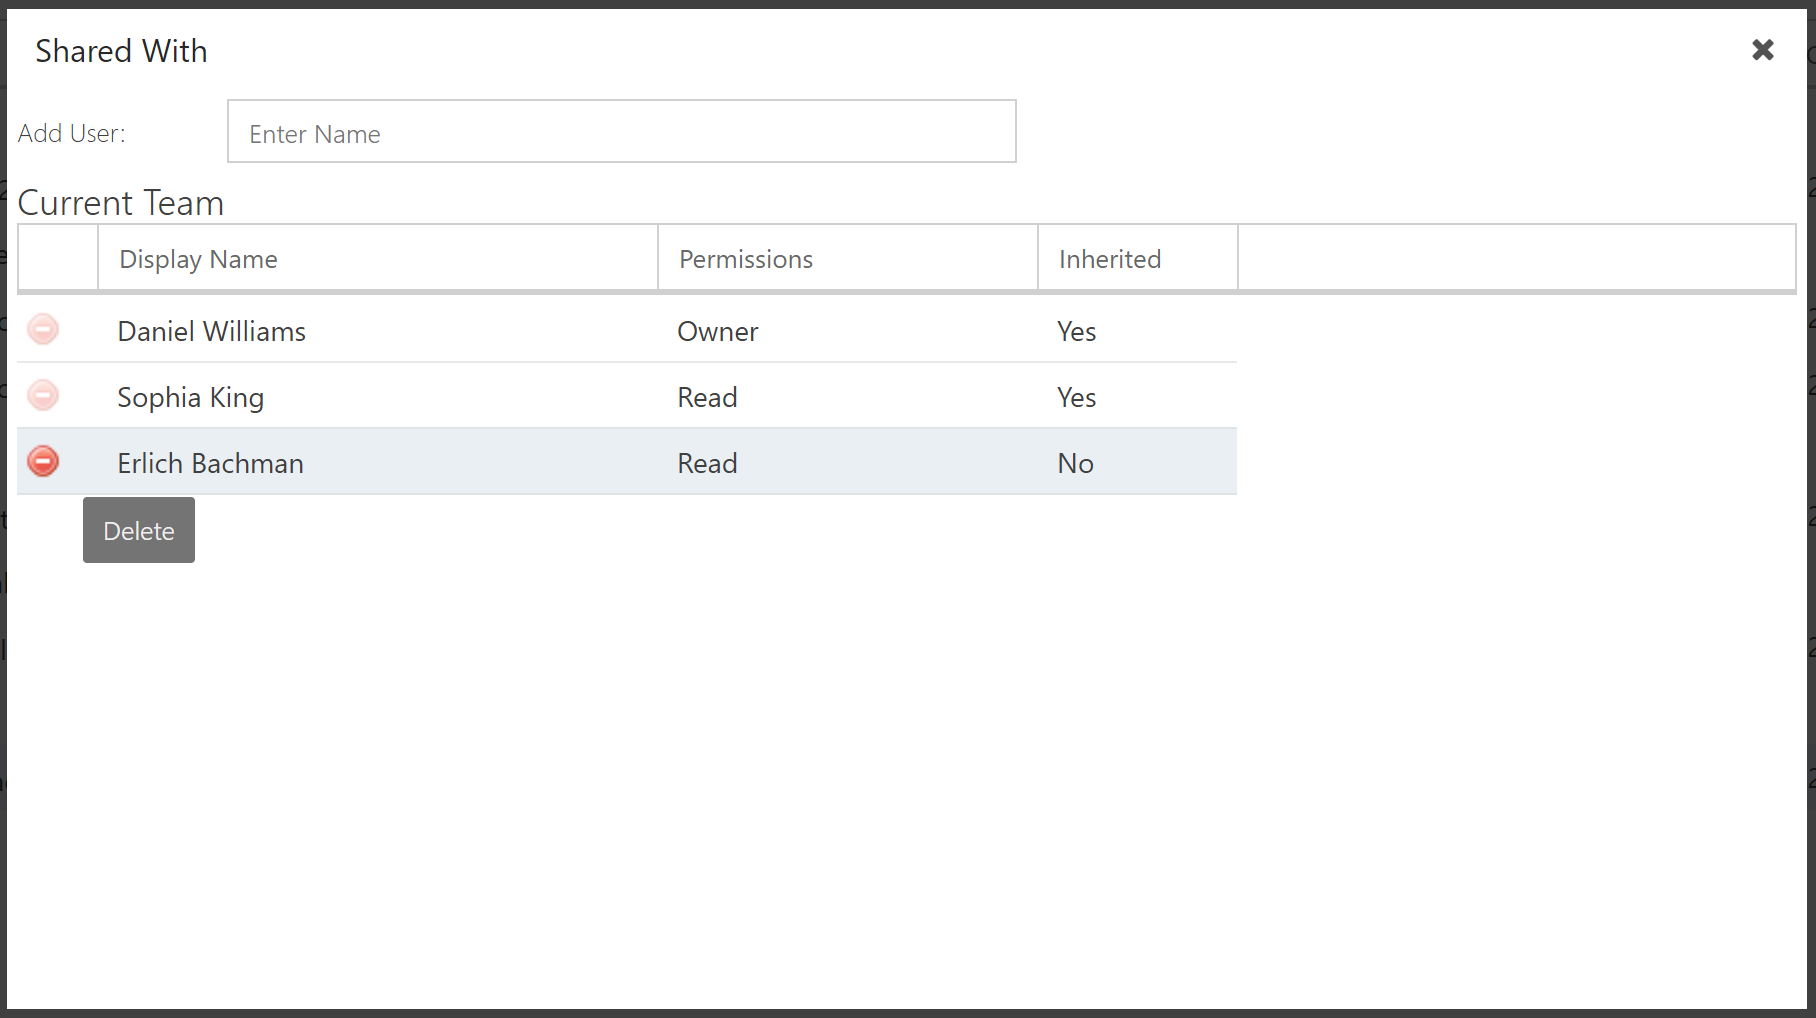
Model Security
Multiple people can create their own models using the plans and constraints they pick. Each model can contain one or more what if scenarios. You can then share the models with other people to view and collaborate.
Click the hamburger menu next to the desired model. Then select Security. The Shared With form will open.
Note
The Shared With form displays all of the users that the model is currently shared with.
Note
Users who are in the parent folder Shared With will have access to all models within that folder.
To share the model with another user, start typing their name into the Add User field. Then select the user from the search results.
Note
You are only sharing the selected model with the user. They will not have access to other models in the folder unless you give them access to each individual model, or share the folder with them. See Create a Modeler Folder for more information.

To remove a user from the folder, click the Delete icon next to their name.
Note
You can only remove users who were added to Shared With at the model level. Otherwise you will need to edit the folder security settings. See Create a Modeler Folder for more information.