Use the OnePlan Backup Utility
This article explains how to use the OnePlan Backup Utility. This utility should be used to backup OnePlan groups with more than 100 plans.
Go to https://oneplantemplates.azurewebsites.net/backuputil/.
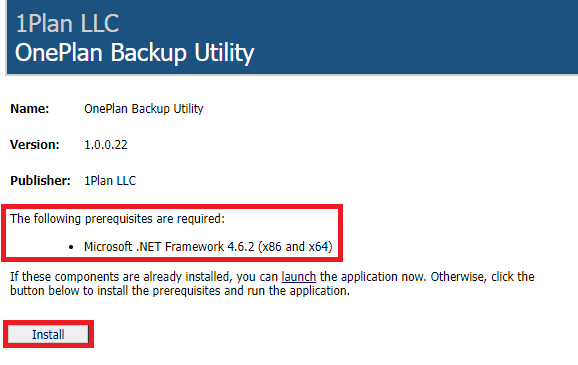
Review the prerequisites to use the backup utility.
Click Install to download the utility.

Open the setup.exe file from your Downloads folder. The OnePlan Backup Utility will install and open on your machine.
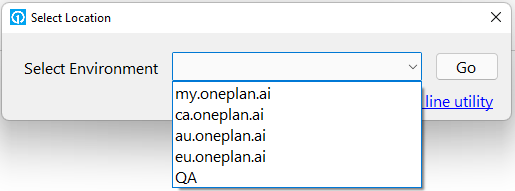
Select the region where your OnePlan environment is located. Then click Go.

Note
Trial environments are hosted in the my.oneplan.ai environment. If you are backing up a trial environment, select my.oneplan.ai.
Get an integration key for the group you would like to backup.
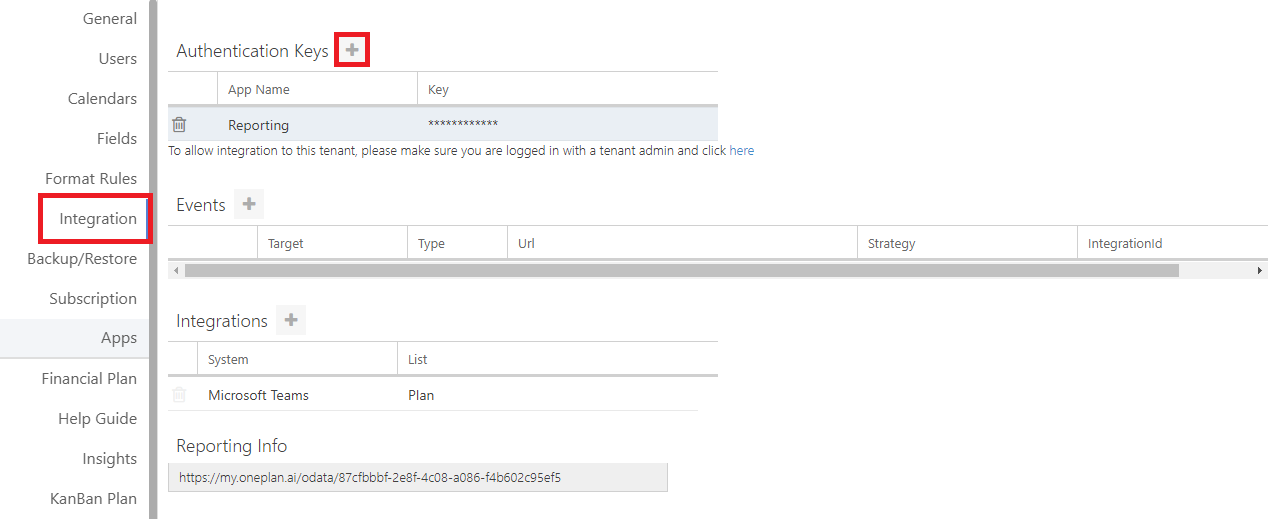
In OnePlan, go to Admin
 > Integration.
In Authentication Keys, click New Key
 . The New Key form will open.
In the New Key form, give your new key a name and click ADD.
Copy the new key and save for later use. The key will be hidden when the page refreshes.

In the OnePlan Backup Utility, complete the OnePlan Backup form.
Enter Integration Key: Paste the integration key for the desired group.
Backup Type: Select the backup type.
Normal: Backs up only generics and ignores named users
Generics: Switches all names resources to generic resources for troubleshooting or templating.
Full: Backs up all resources as is. Used for tenant migrations or moves within the same tenant.
Note
Please contact OnePlan support if you would like to take a Full backup as there are several additional steps required for this backup type.
Include Content: Check the check box if you would like to include content from the group. If unchecked, the backup will just save the group configuration.

Click Download Backup. The download is complete when the View File link appears. Click View File to access your backup file.

Note
Even if the download progress bar is not filled, the download is complete once the View File link is visible.
Note
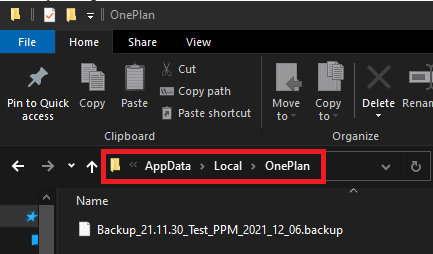
The backup utility creates a folder in your machine's App Data folder where backup files are downloaded.
