Manage My Work in boards
This article explains how to manage work items in the My Work Board.
The Board presents assigned work items in a Kanban board view.
Move items in the board
To move items in the board, drag and drop the desired card into the desired location. This will update the status of the item in the plan.
Edit work item information
To edit work item information:
On the desired work item card select the ellipses > Quick Edit. The quick edit form will open.
Update the item information as required. The changes will auto-save.

Modify the Board View
Configure the board Columns and Lanes
Select the fields from the Column and Lane menus to create the columns and lanes in the board.
Note
Due to column and lane selection some drag options may not be available. You may only drag items between statusable columns or lanes.

Filter work items
Filter the work items that appear in the board view. To apply filters:
Click Filter
 .
.Select and set the desired filter(s). A check mark appears next to selected filters.
Note
The Filter icon is blue when filters are applied.
To remove filters:
Uncheck selected filters to clear individual filters.
Click Clear Filters to clear all filters.

Configure work item card information
Select the information that appears on the work item cards.
Click Select Columns
 . The Select Columns form will open.
To add a column to the work item cards, drag the desired column from All Columns to Selected Columns.
To remove a column from the work item card, drag the column from Selected Columns to All Columns.
Click OK to update the work item cards.

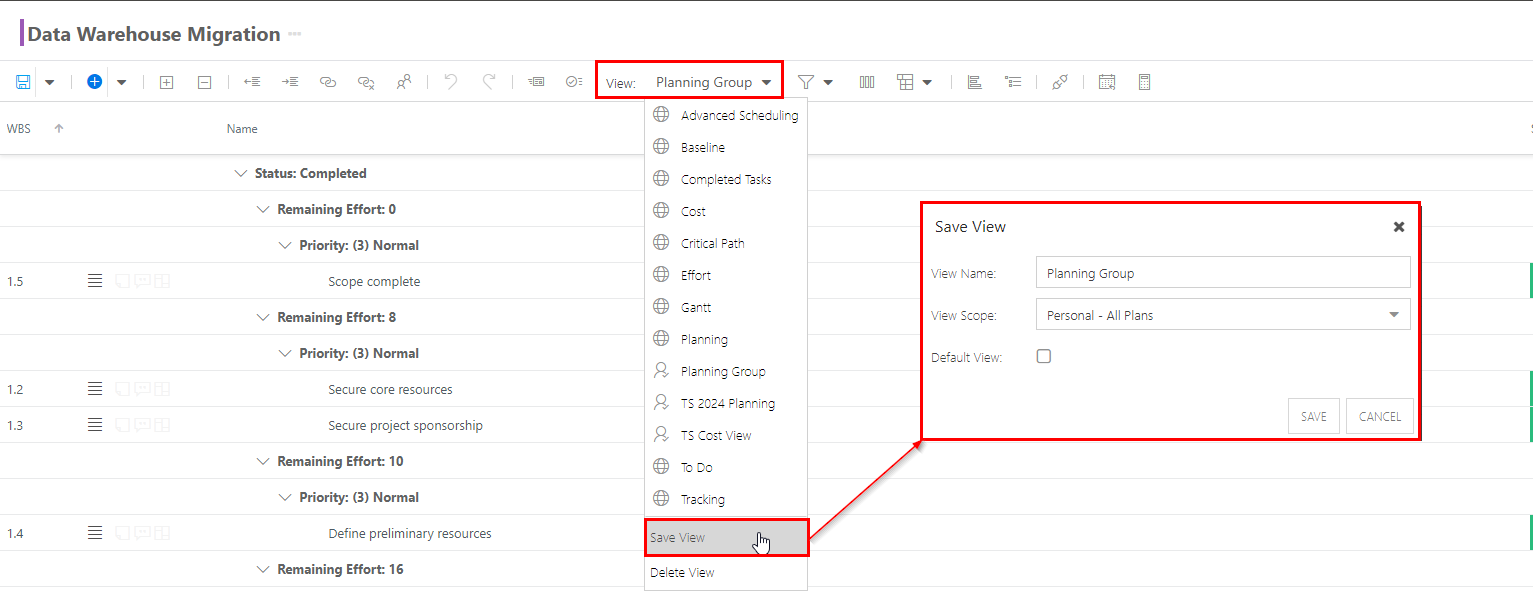
Save a view
Make any changes to the view, such as adding columns, arranging columns, etc.
On the View menu, select Save View. The Save View form will open.
Complete the Save View form.
View Name: Initially, the current view name will show. Update to a new name. If updating a view rather than saving a new view, keep the name as-is.
Default View: Check the checkbox if this is a default view. A default view will open automatically when you go to the Work Plan.
Personal View: Check the checkbox if this is a personal view. It is checked by default. Administrators may save a view as a global view for the group by deselecting the checkbox.