How do I build a Financial Plan?
This article explains how to build a OnePlan Financial Plan. Be sure to read the previous articles in this chapter to get familiar with the Financial Plan terminology and menu options.
1. Navigate to the Financials Module
Navigate to the Financials page for your plan, if not already there, by clicking Financials in the Header.

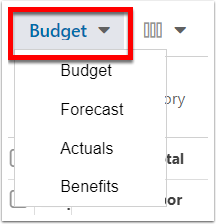
2. Select Your Cost Type
Before adding financial details, be sure you are viewing the correct cost type. Select the desired cost type from the drop down menu.
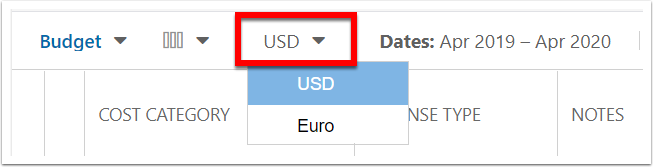
3. Select Currency
Before adding financial details, be sure you have the correct currency selected, if your organization has multiple currencies configured. Select the desired currency from the drop down menu.
4. Select Time Period Length & Date Range
Select the desired time period length (monthly vs quarterly vs yearly) and date range that you will be adding financial values. Click the Apply button.
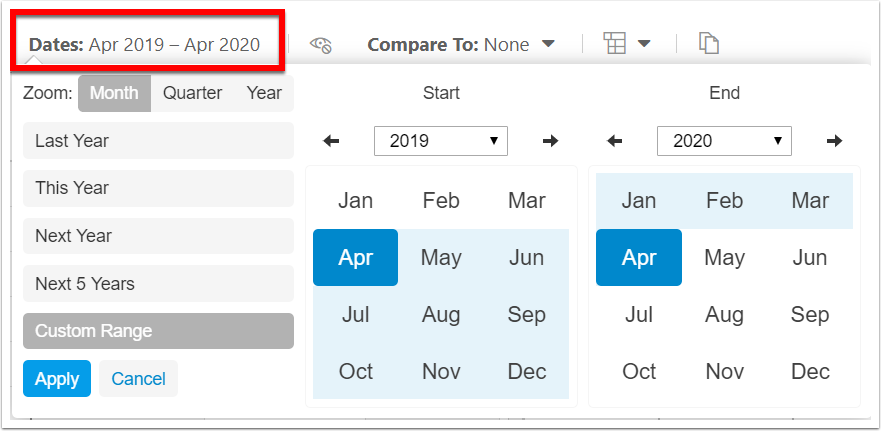
If you enter values into larger periods of time, such as into quarters or years, then switch to months, the values will be equally split across the months.
5. Add Financial Values
Add the cost values for the applicable cost categories and time periods. You can use the tab button and arrow keys for quicker entry into the cells.
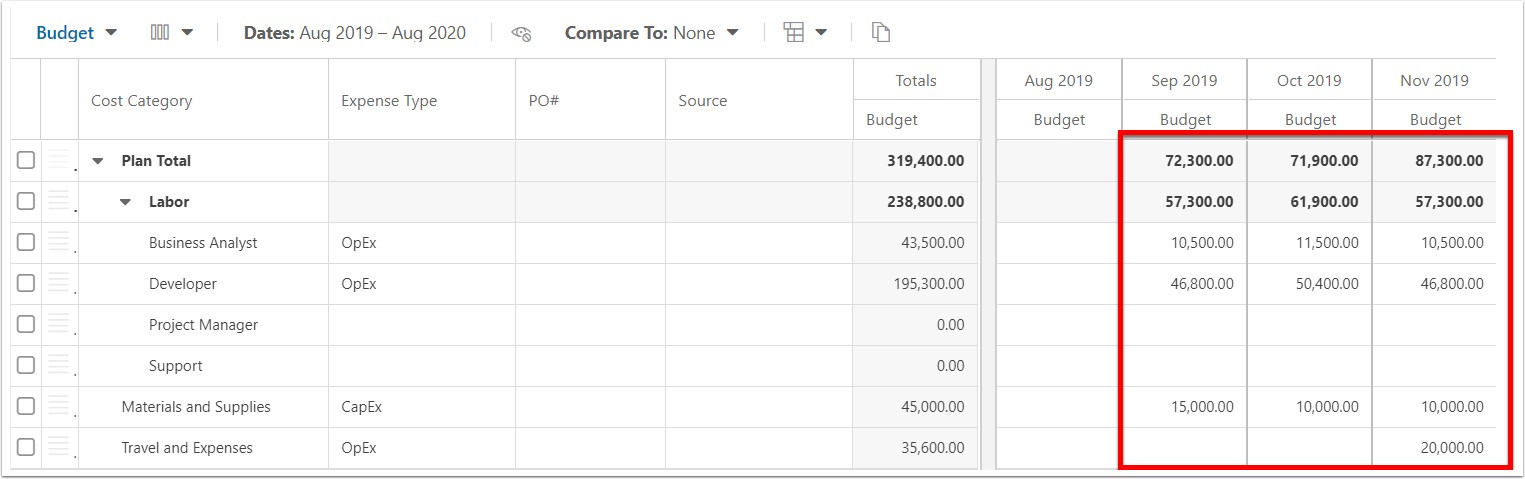
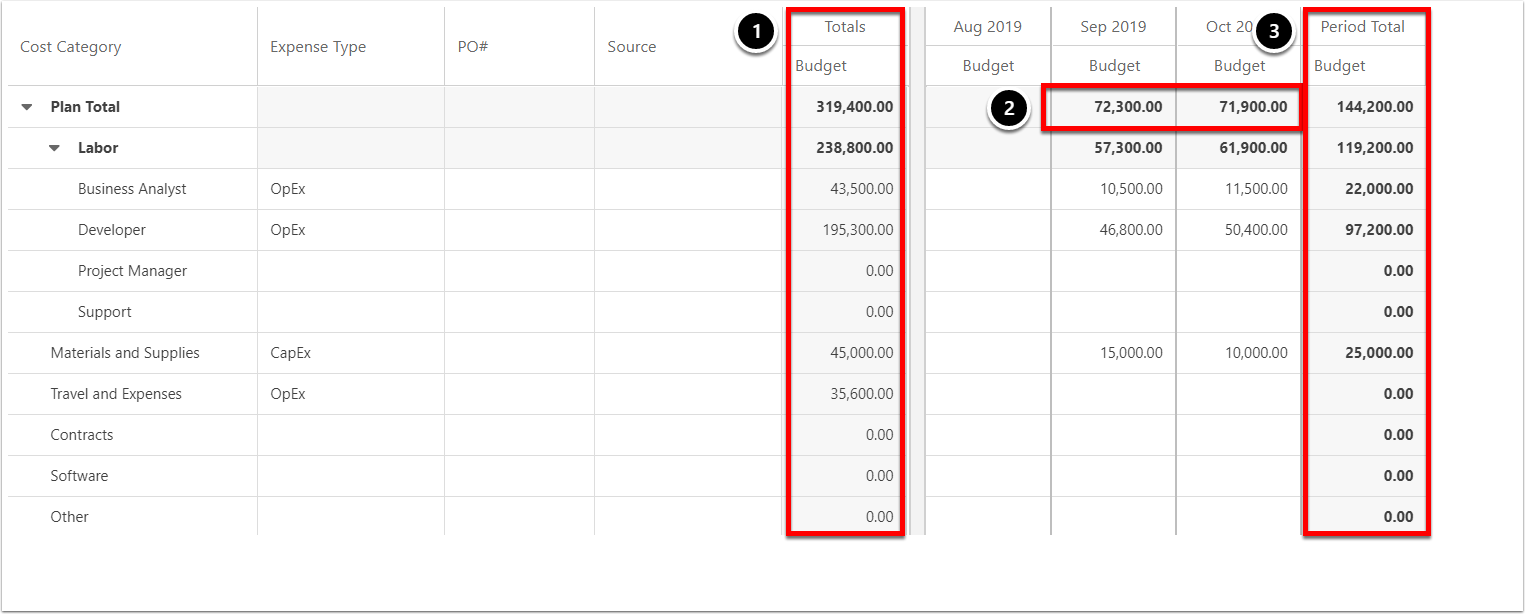
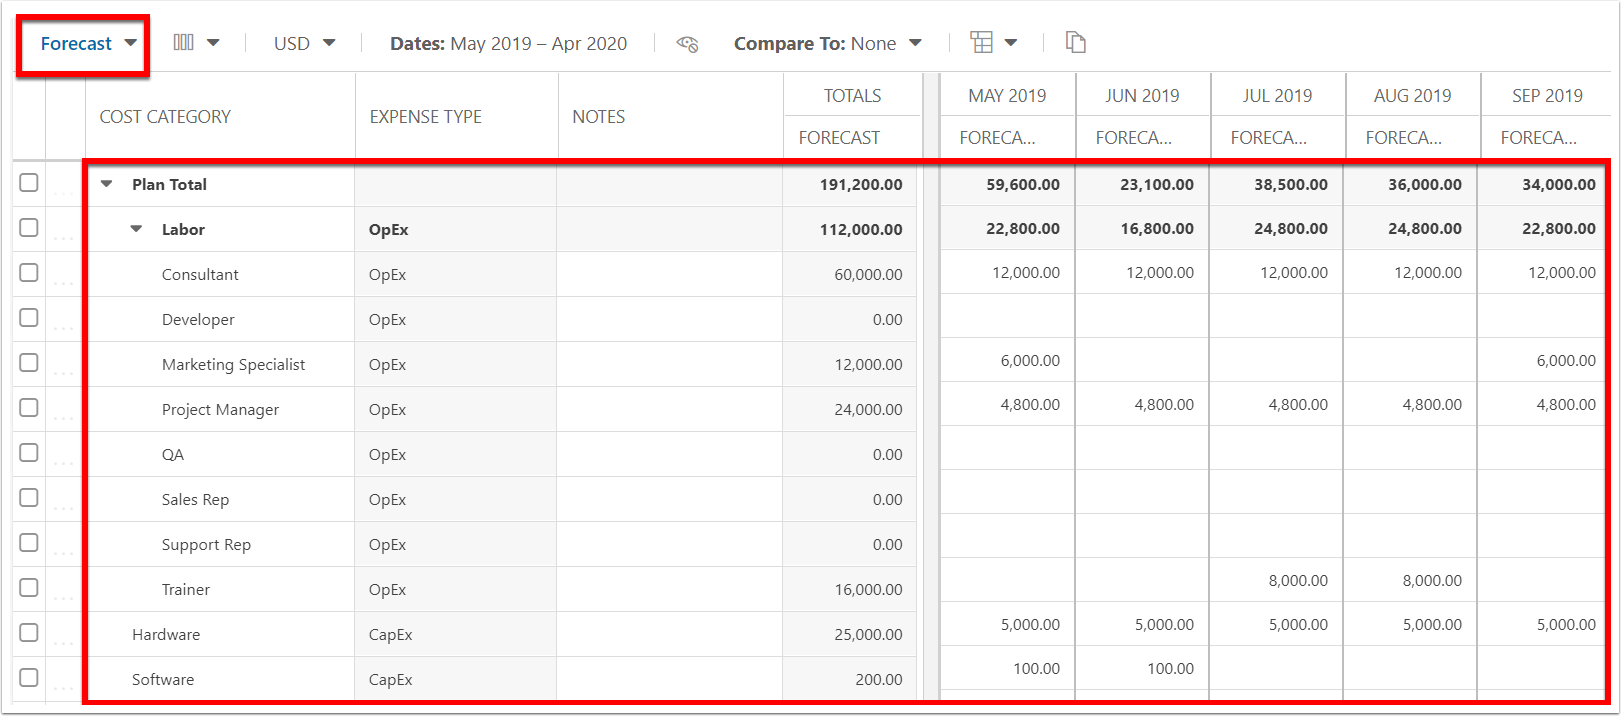
5.1. Totals
There is a Totals column that show the total per cost category and each summary level row, such as Plan Total.
There is also a total row at the top of each time period column.
There is also a Period Total column to the far right of the Financial Planner that shows the totals of the time frame selected shown. You may choose to view only a few months in the Financial Planner, but the plan may be longer than the select view period.
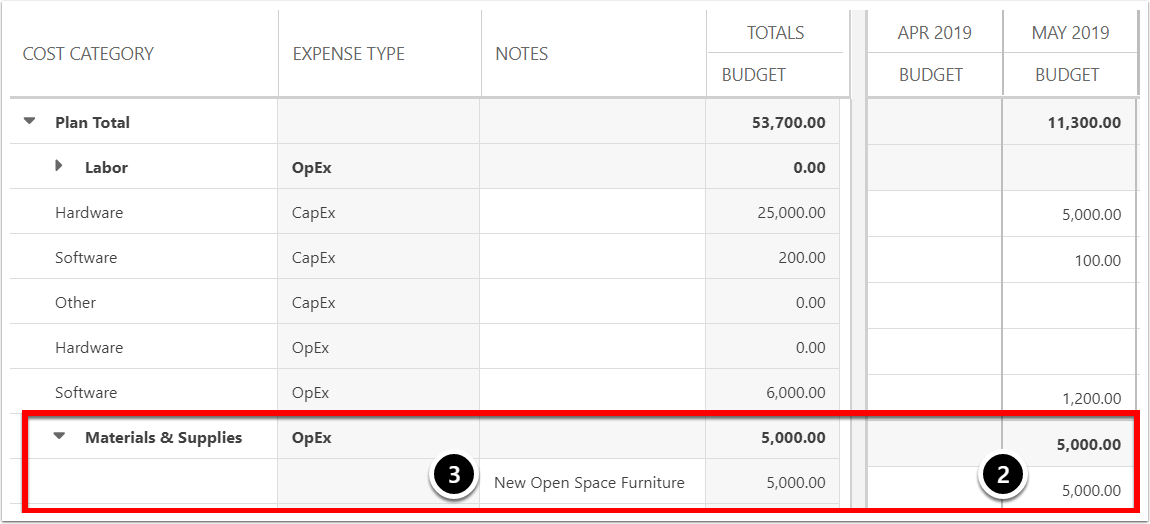
6. Add Detail Row
To track multiple rows for the same cost categories, use the Add Detail feature.
Select the menu icon for a cost category row, then Add Detail.
The cost category becomes a summary level row. Enter your costs on the child row.
To distinguish multiple rows within a cost category, you would typically enter details into the additional cost category fields to distinguish.
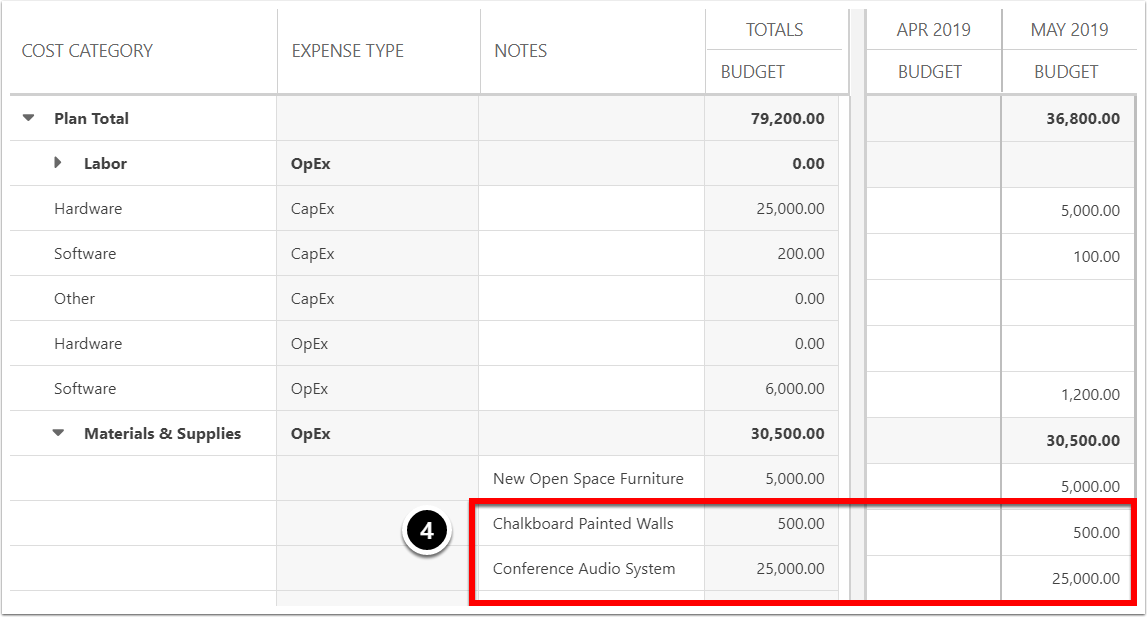
Repeat steps 1-3 for each additional detail row.
The Add Detail option is only available if Grouping is OFF.

7. Add Labor Costs
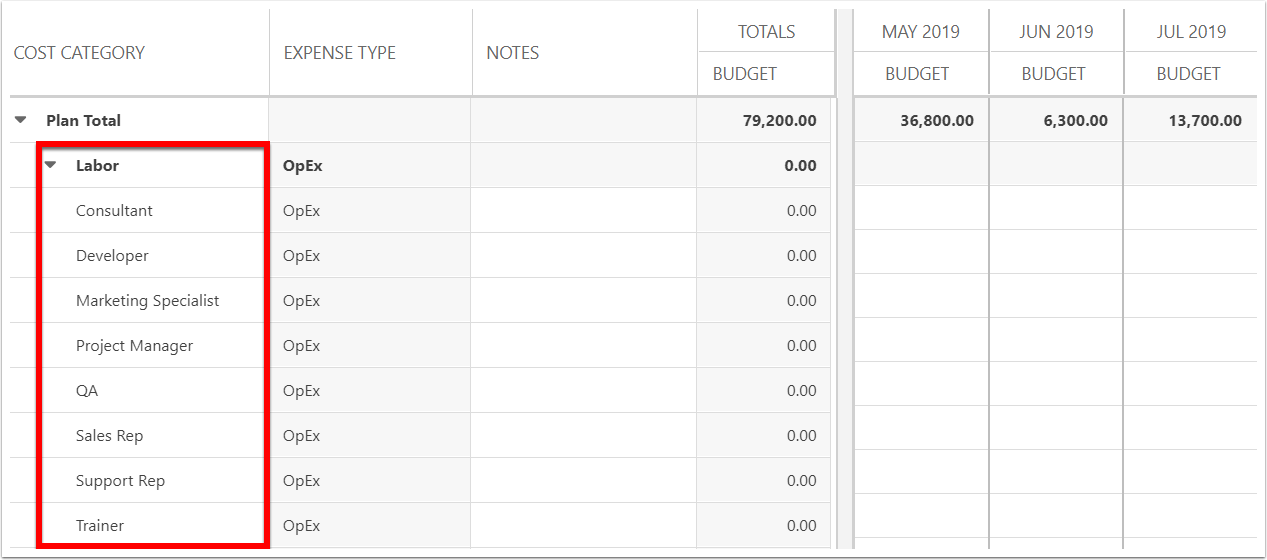
Rather than manually entering labor costs manually, you can import the labor financial values from elsewhere in the system. Your environment may be configured for each Financial Plan cost type to import labor costs. If no Import 'From' is configured for that cost type, the Import button will not show. An example use case could be that the Resource Plan hours imports into the Budget cost type, the resource schedule imports into the Forecast cost type, and the timesheet hours import into the Actuals cost type.
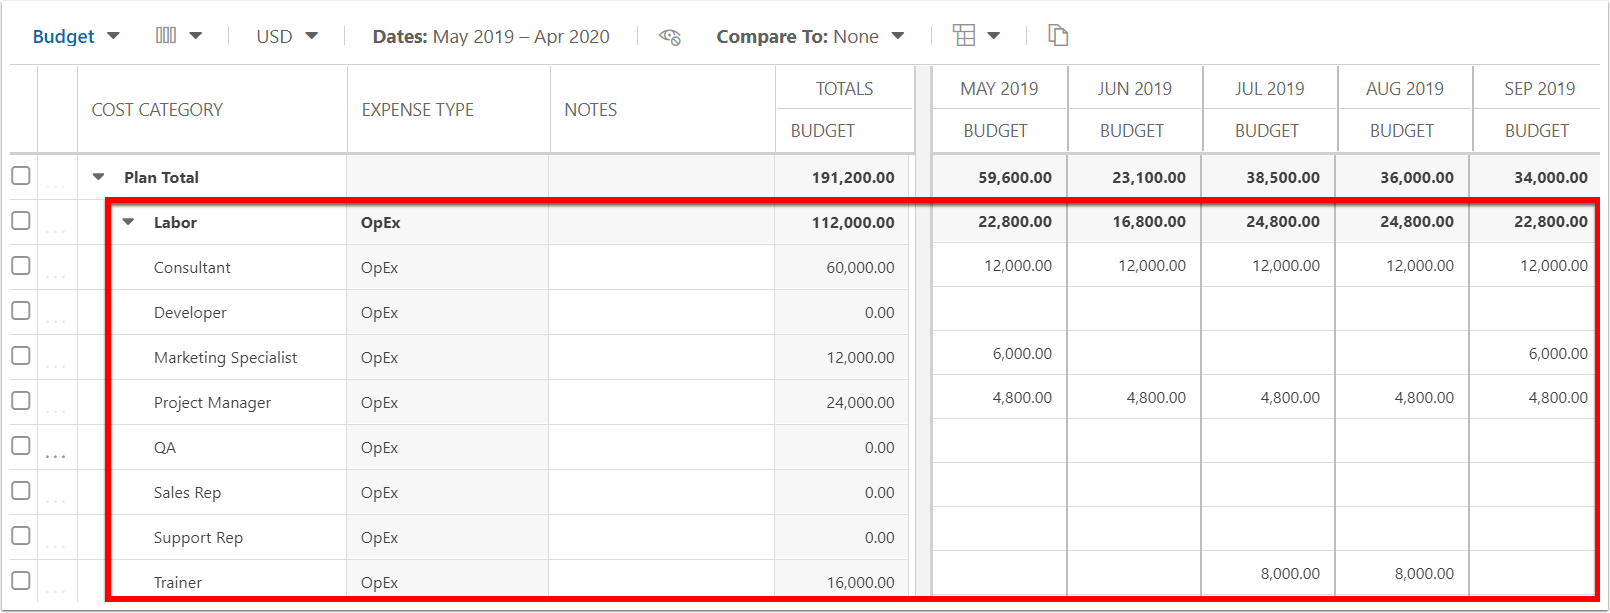
Build the Resource Plan. Then back in the Financials page, import the Resource Plan. The hours are multiplied by the rate (rates are managed in the admin settings) and converted to costs for each labor cost category. Typically, the labor cost categories are roles or something similar. Though, as OnePlan is flexible, another use of labor cost categories may be configured for your environment.
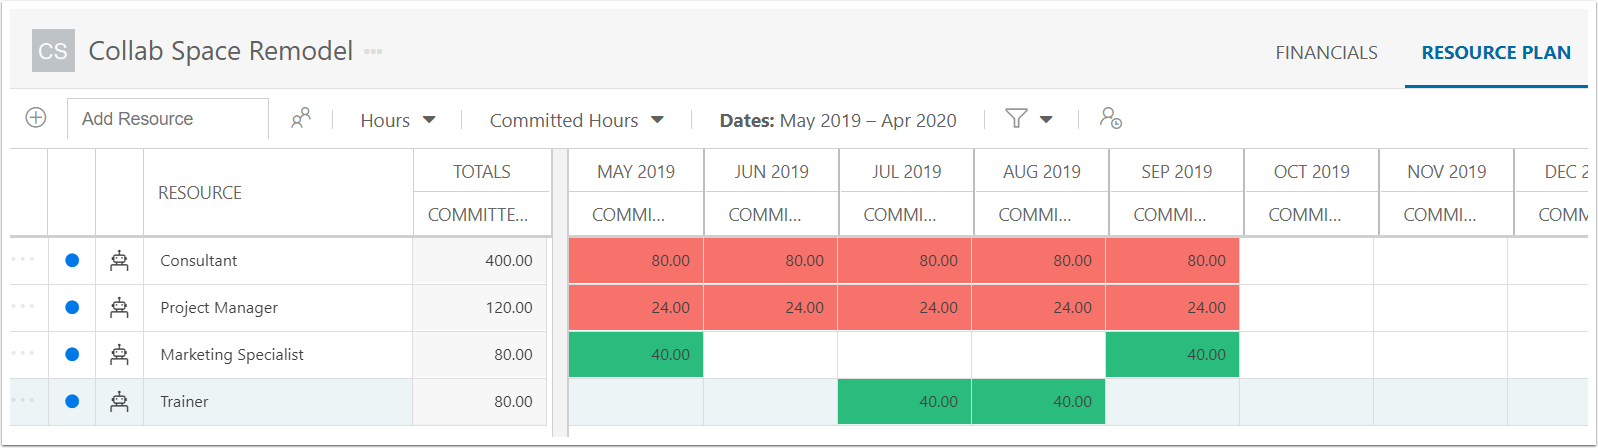
7.1. Resource Plan Hours
7.2. Import Costs
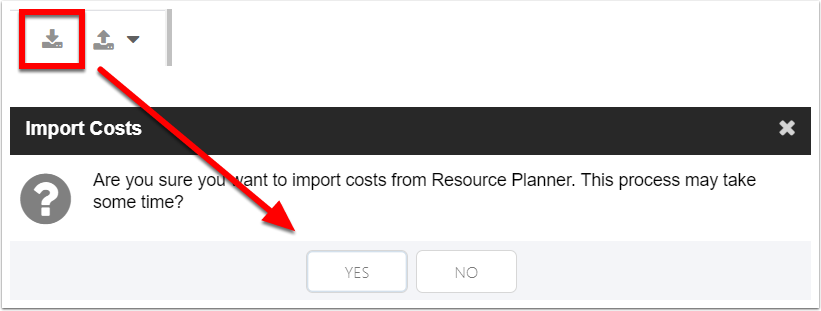
Be sure you’re in the right cost type, then click on Import Costs. Verify the import by clicking the Yes button.
8. Copy Costs
You may copy costs from one cost type to another cost type. For example, once the budget is finalized and approved, you may want to maintain the ongoing estimated costs in the Forecast cost type. Or, as the plan is actively incurring costs, you can copy the original Budget into the Actuals cost type, then update as needed for each time period.
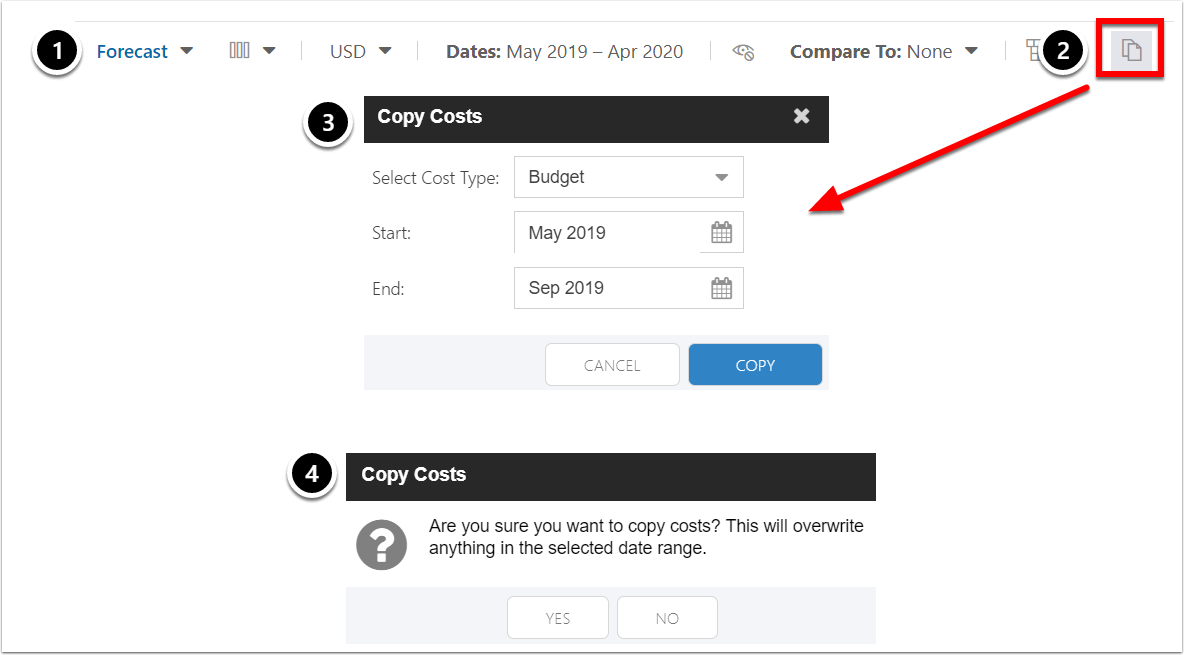
Go to the destination cost type.
Click the Copy Costs icon.
Select the source cost type and date range.
Verify to copy costs.
The values from all cost categories from the source cost type will copy into the destination cost type.