Create and Manage Teams in the Resource Center
This article explains how to create and manage teams of resources from the OnePlan Resource Center.
You can create teams of resources to represent departments, divisions, groups, scrum teams, etc.
Teams is a powerful feature in OnePlan that allows you to manage groups of resources easily. In OnePlan, you can easily assign entire teams of resources to tasks in your work plan, and use teams for resource planning rather than individual resources.
Note
Only users with 'Manage Resources' permissions can view the Teams tab in the Resource Center. The tab will be hidden from all other users.
Create a New Team
To create a new team of resources:
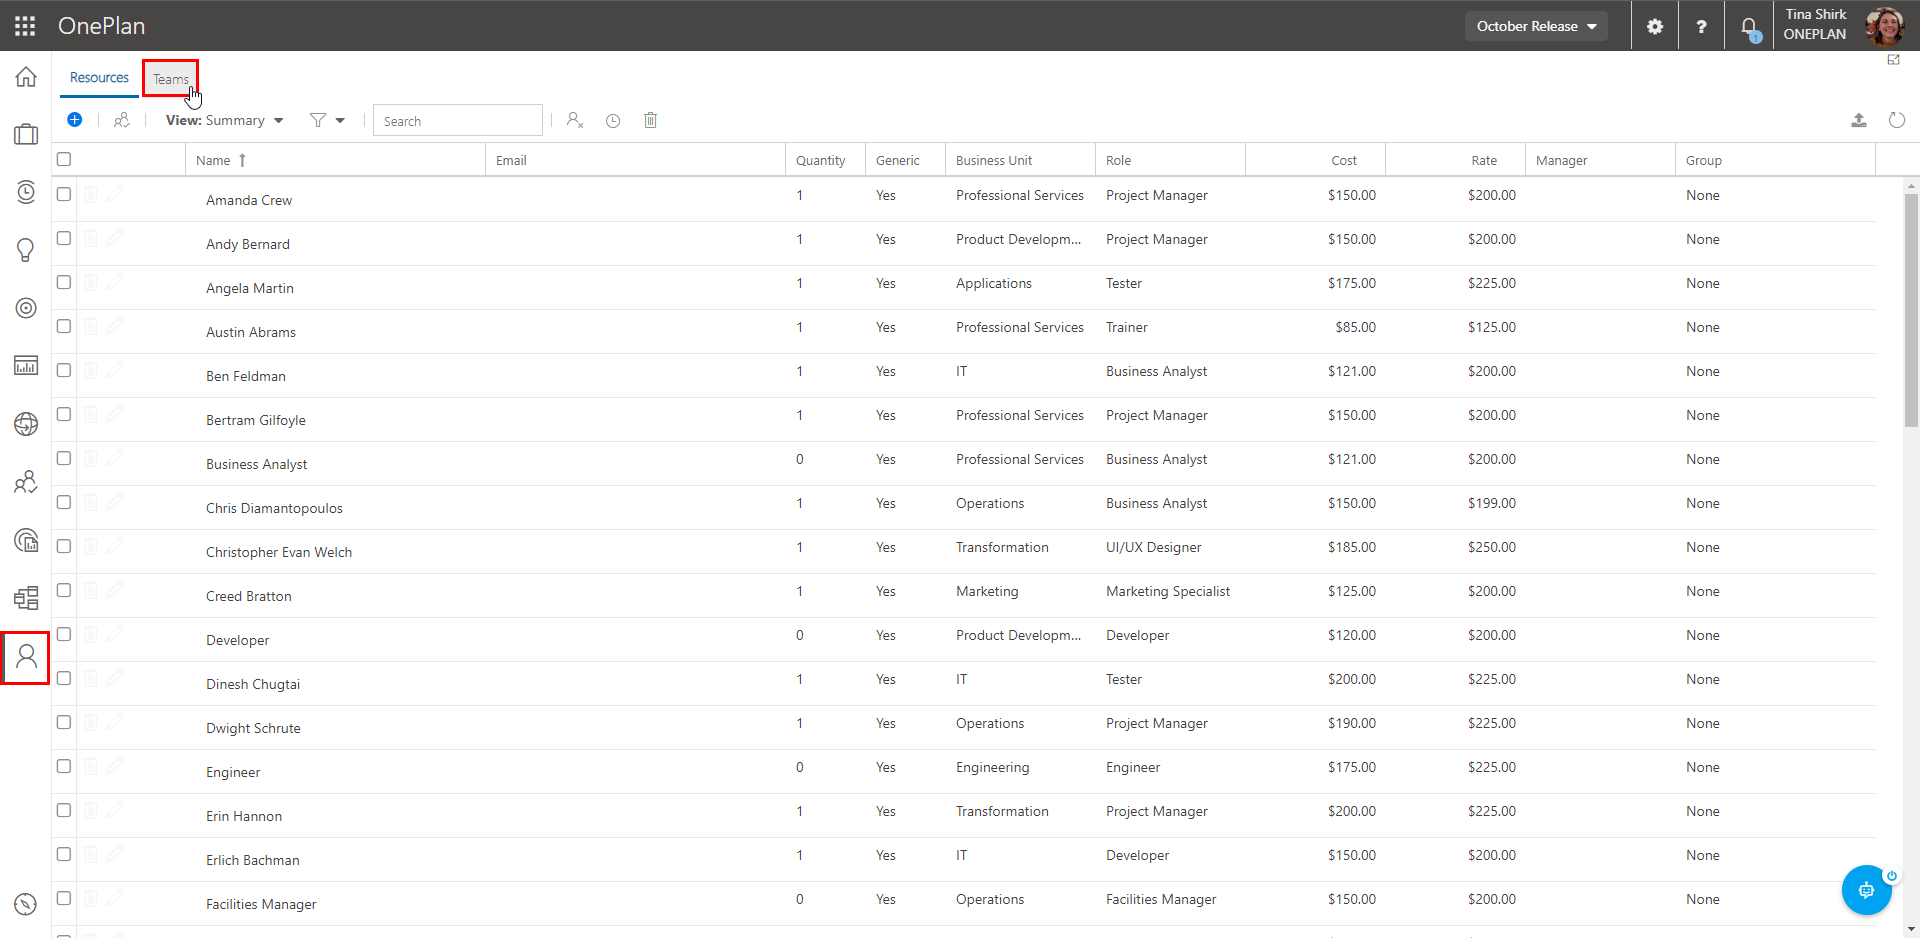
Go to the Resource Center.
Click on the Teams tab. Here you will see a list of all your existing teams (if available).
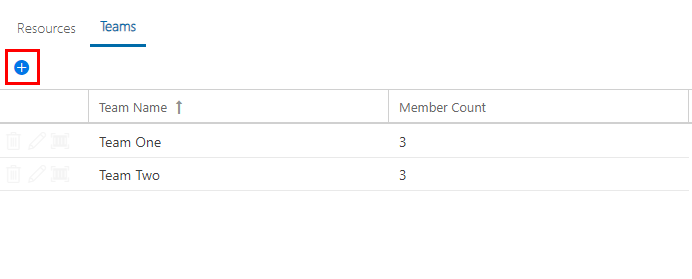
Click on the Add Team icon. The Create Team form will open.
Complete the General tab of the Create Team form. This is where you will enter general information about the team, including the team Name, a Description for the team, and, if desired, you can select the team's Manager.
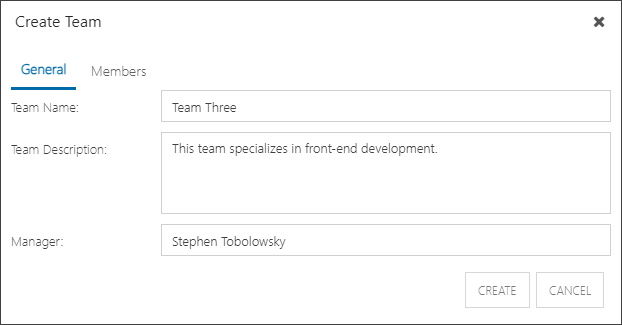
Important
Team Managers work just like regular Managers in OnePlan. If you assign the team to tasks, that team's manager will get the allocation information. If you just assign an individual resource, that resource's manager will get the allocation information.
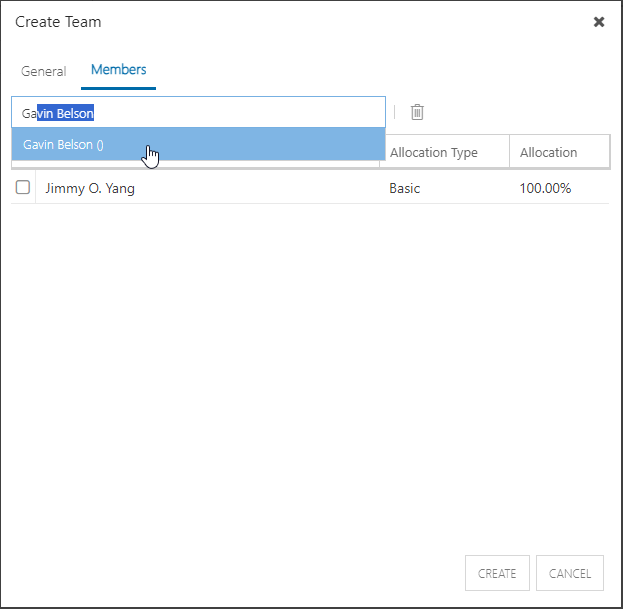
Click on the Members tab. Here you can search for and add resources to your team. To add a resource to the team, click into the search field and begin to type the resource's name. After you enter a couple of letters into the search field, resources will appear in search results. Select the desired resource, and they will be added to the team.
Note
The resources need to be active resources in the Resource Center to be added to a team.
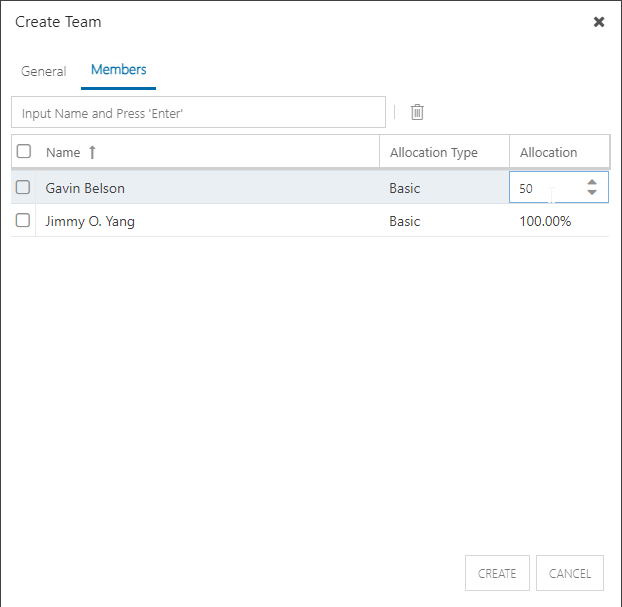
(Optional) Update the resource's allocation to the team. You can set how much of a resource's time is going to be allocated to this particular team. In this example, you can see that Gavin Belson has been allocated 50% to Team Three. To update a resource's allocation, click into the Allocation field for the desired resource, then enter the allocation % into the field.
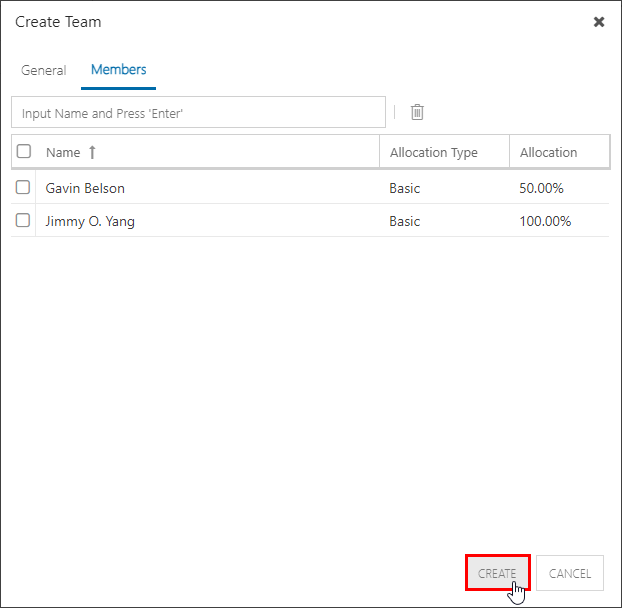
Click Create to create your team. The team will now be available for use across OnePlan.
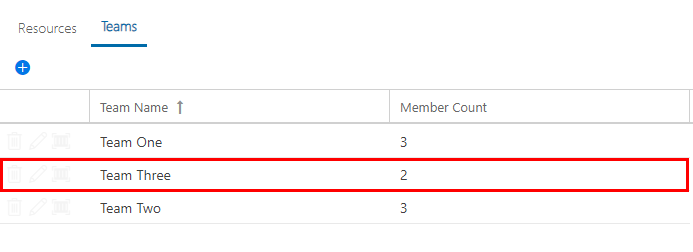
Edit a Team
After you create your teams of resources, you will likely need to add or remove members, update the team names, etc. To edit a team:
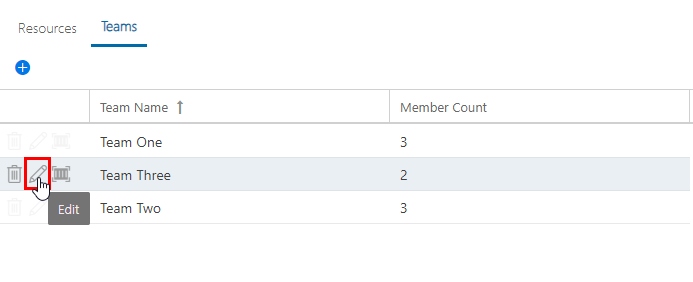
Click the Edit icon next to the desired team. The Edit Team form will open.
In the General tab of the Edit Team form, you can update the team Name, Description, or Manager.
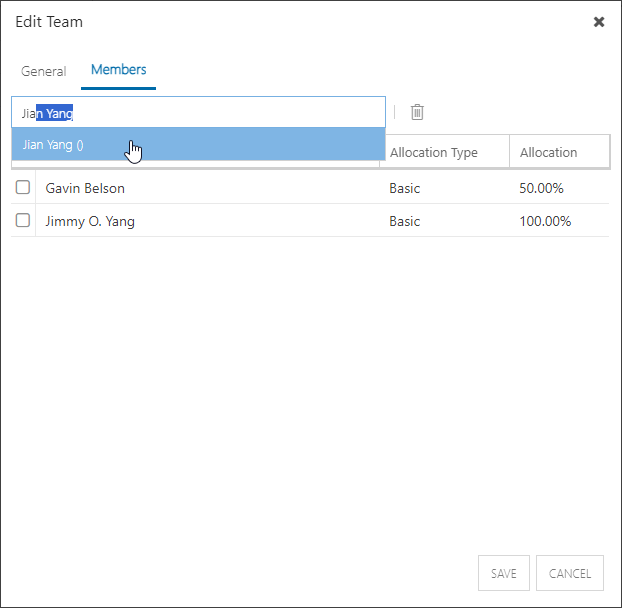
Click the Members tab. Here you can add or remove resources from the team.
To add a new resource to the team, click into the search field and begin to type the resource's name. After you enter a couple of letters into the search field, resources will appear in search results. Select the desired resource, and they will be added to the team.
To remove a resource from the team, check the check box next to the desired resource(s). Then click the Delete icon at the top of the form.
Note
You can bulk remove resources from a team by selecting multiple resources and clicking Delete.

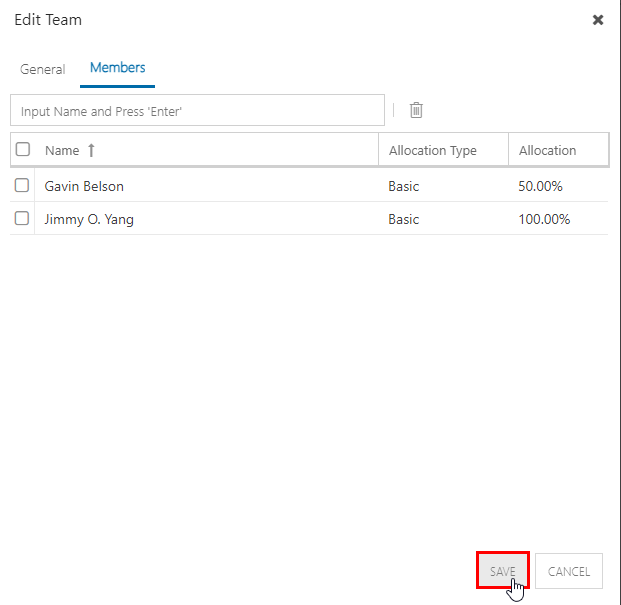
Once all of your updates are complete, click Save.
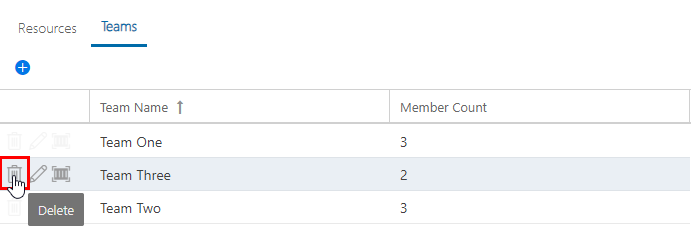
Delete a Team
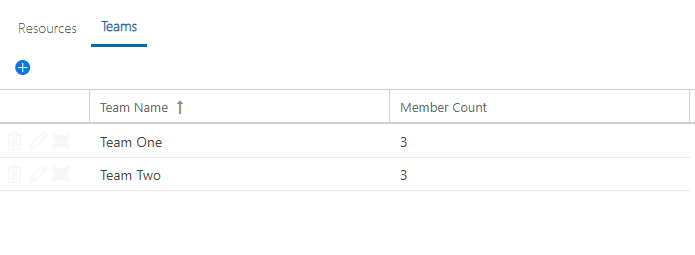
To delete a team, click the Delete icon next to the desired team. The team will be removed from the Resource Center.