Portfolio Modeler Kanban Board
This article explains the features and functionality of the OnePlan Portfolio Modeler Kanban Board.
OnePlan Portfolio Modeler Board is a visual tool used to create various "what-if" scenarios of plans within a portfolio. The board includes a series of columns and/or lanes that represent the different stages or phases of the plan lifecycle, and it can be used to display information about each plan, such as the plan name, owner, status, budget and more.
When using the Kanban in the modeler, all the changes made are "what-if" changes that do not affect plan data. This could be used to organize plans into different lanes and columns (for example program increments, releases, quarters, etc.). When you do this, you can add constraints to each column to model how you could organize your plans while staying within your selected constraint (for example points, hours, or budget).
Access the Modeler Kanban Board
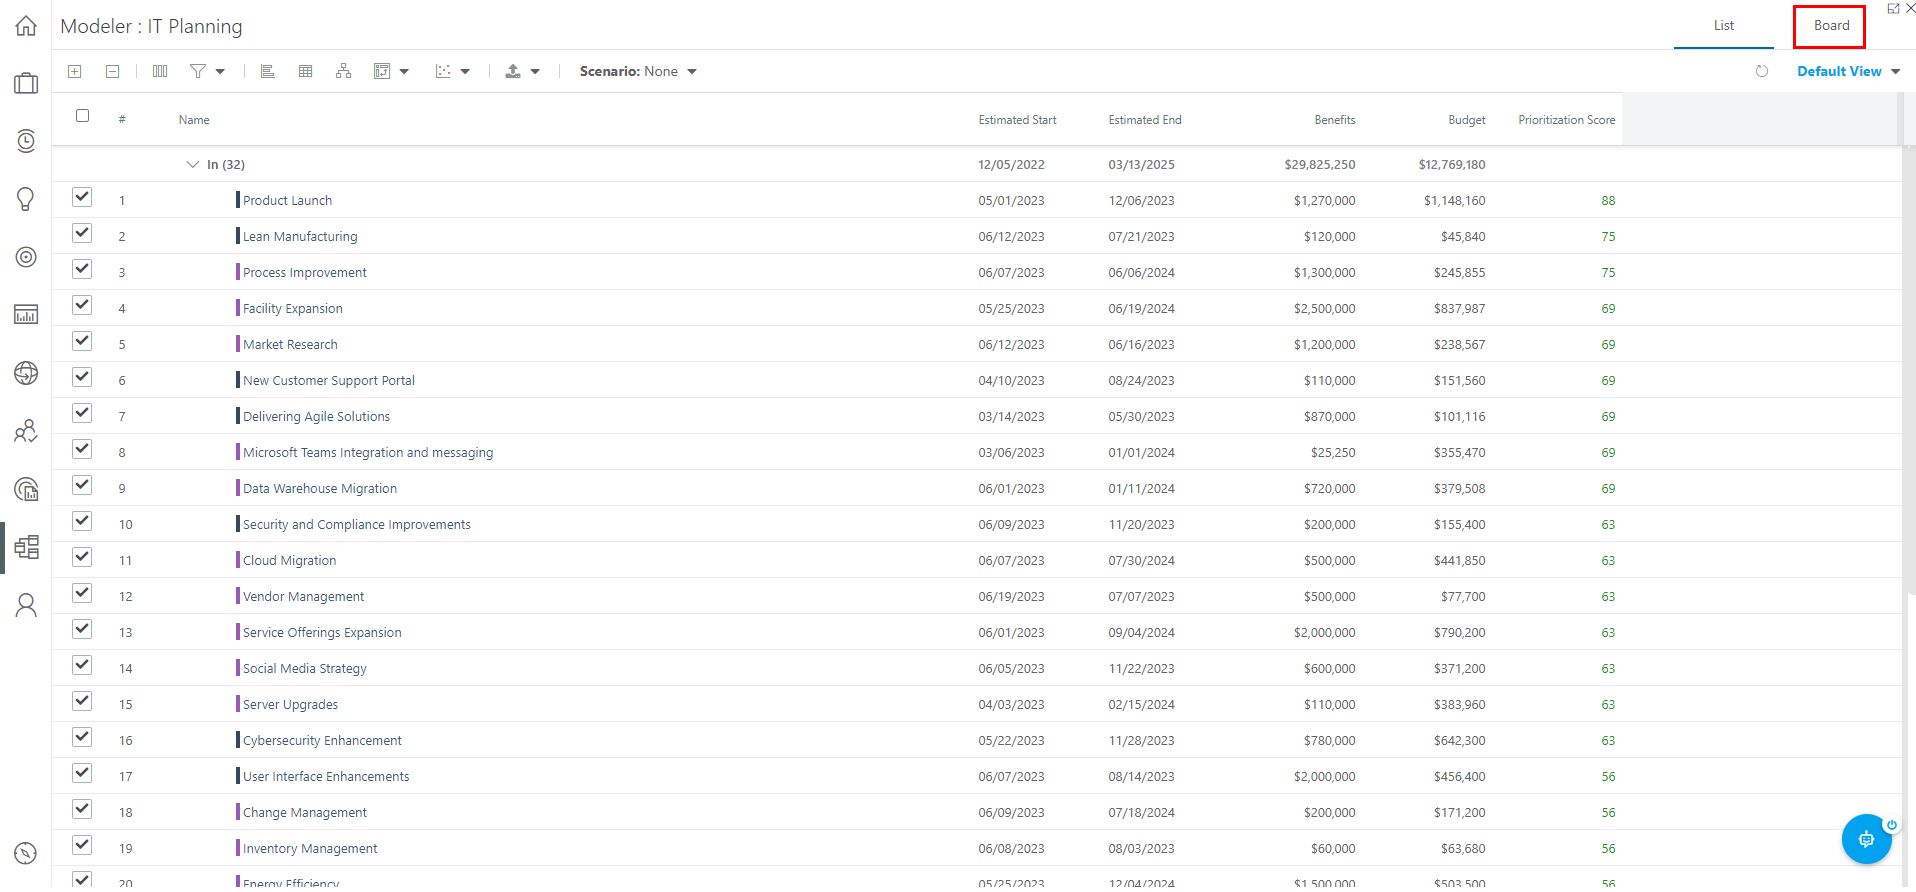
To access the Kanban board, simply select the Board tab in the upper right corner of the Model window. Once in the Board view, you can either create a new board scenario (see Create a Board Scenario for instructions), or select a previously saved board scenario (see Open a Saved Board Scenario for instructions).
Create a Board Scenario
The first time you load the Kanban, the plans will be ordered based on the priority set in the list view. Only plans marked as "in" will be shown in the Kanban.
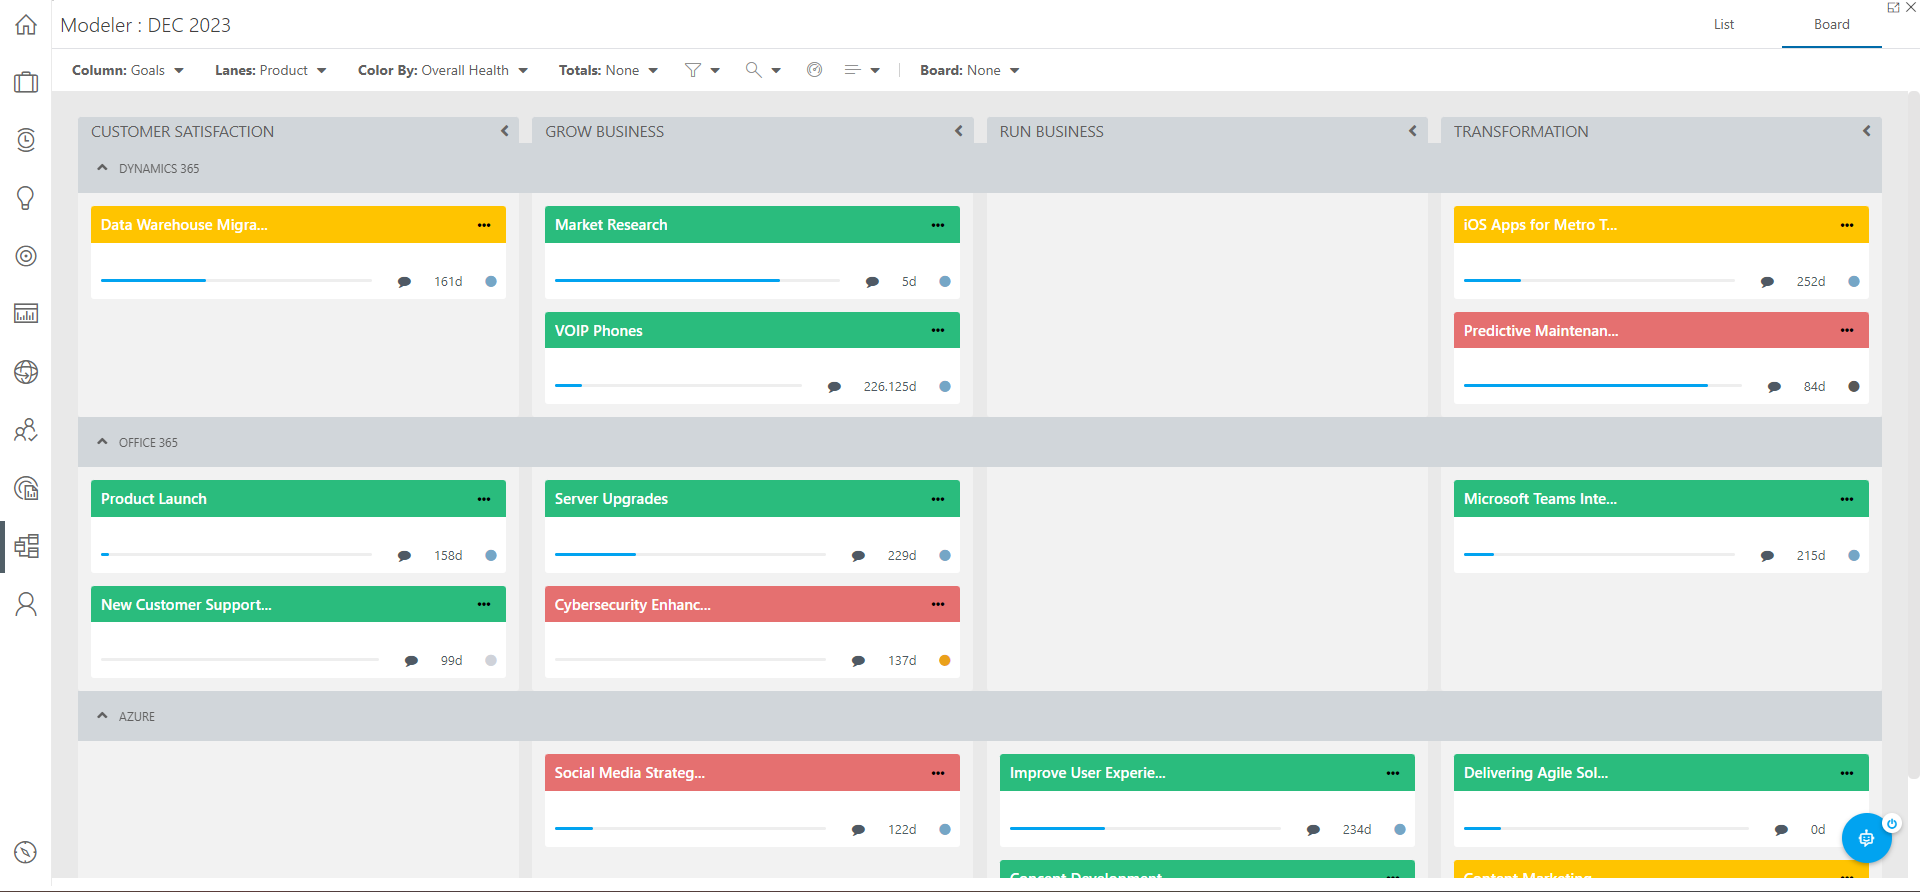
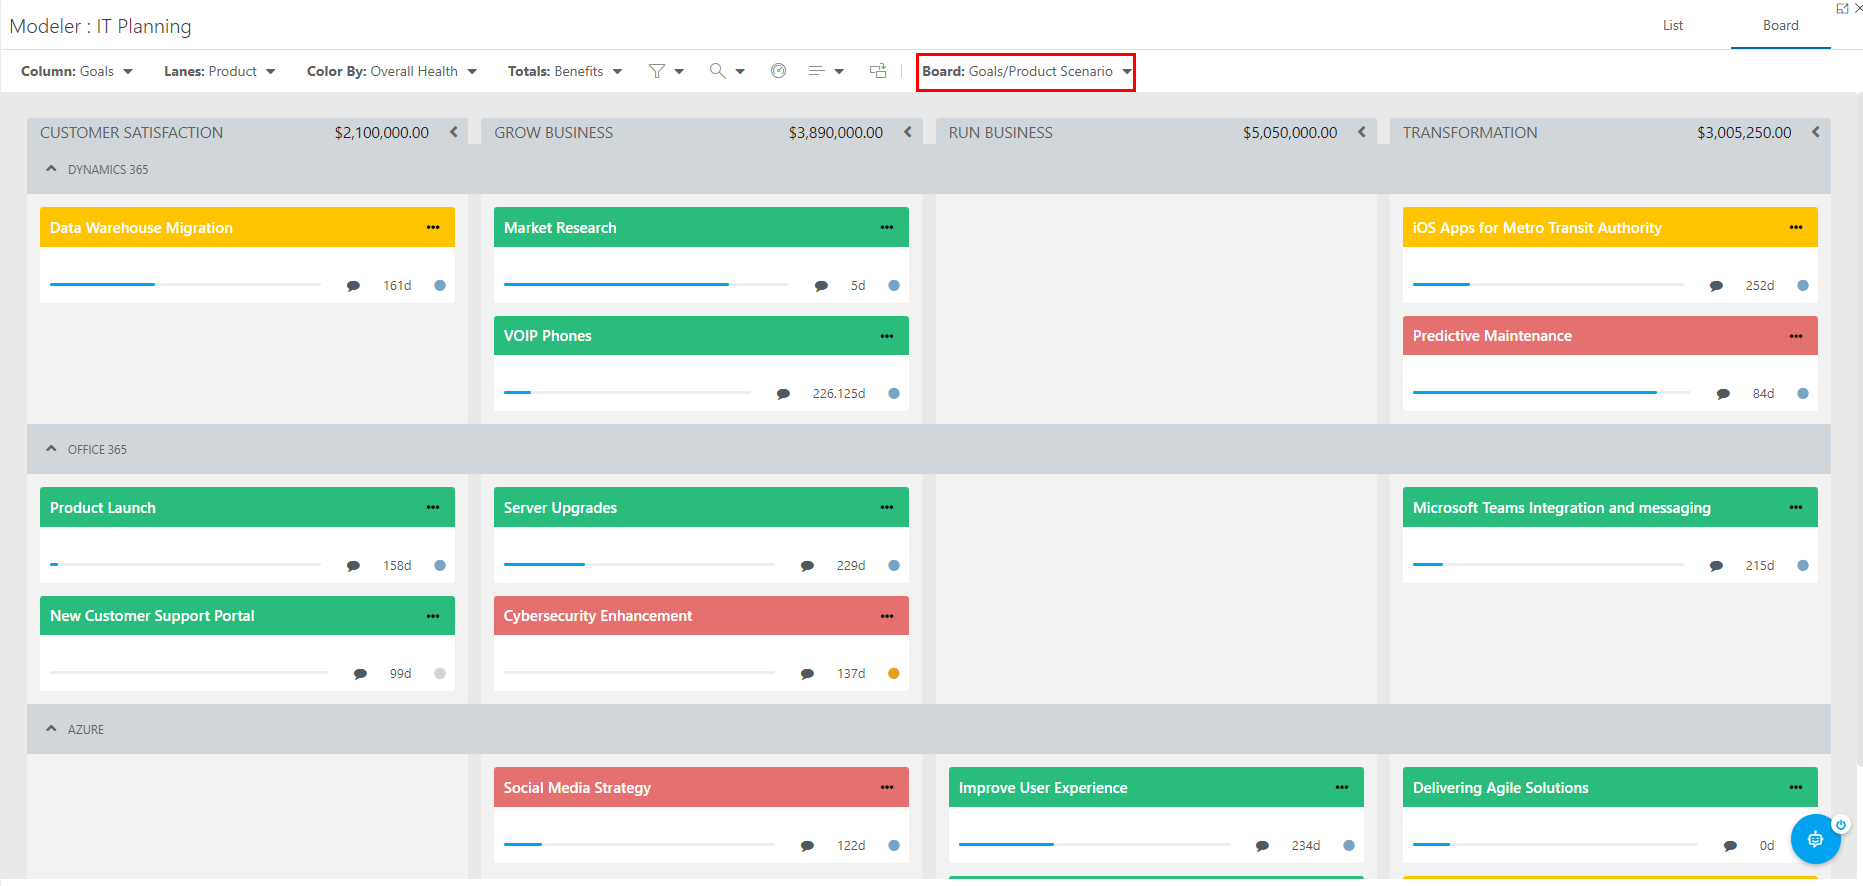
All of the board configuration settings are available here in the board header.
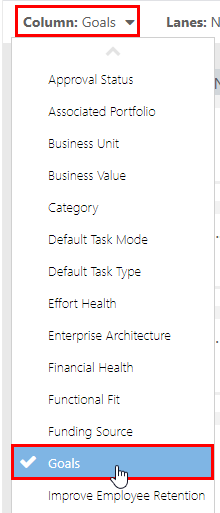
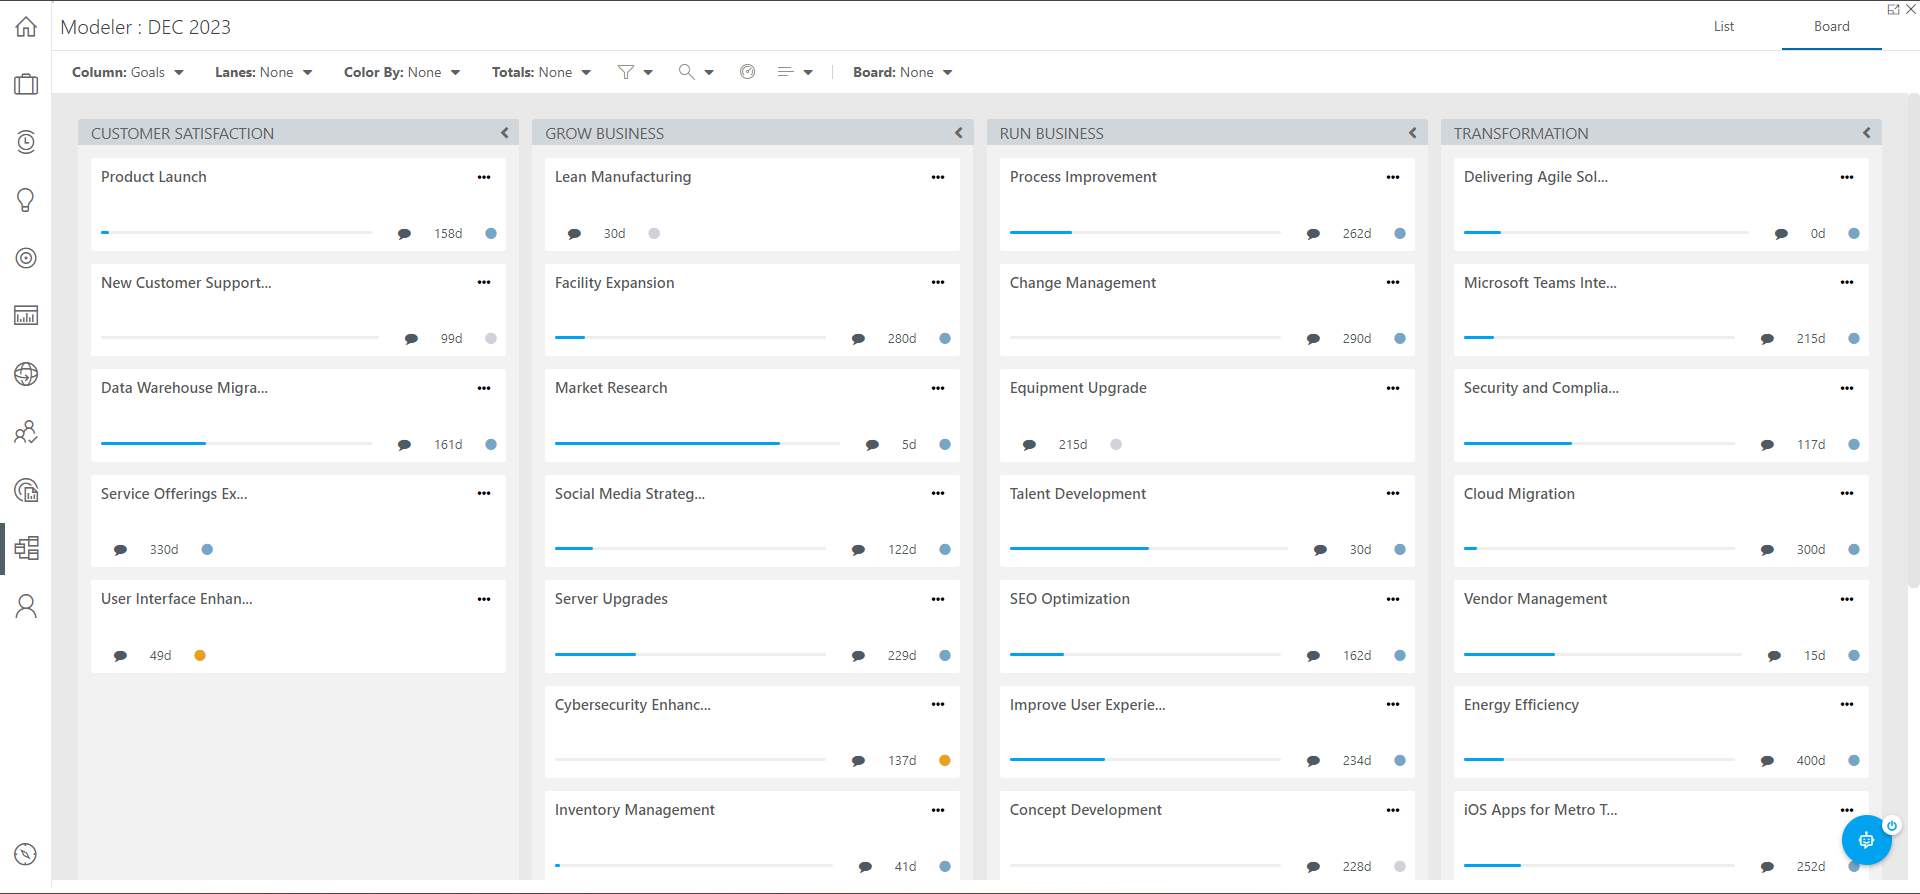
Column: Select the plan field want to use for the columns in the board. For example, I will click on the Column menu, and select Goals from the drop-down. Now the Goals plan field will be used for the columns in the board.
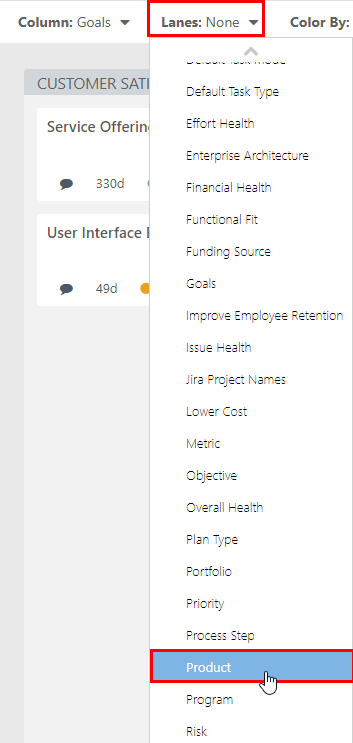
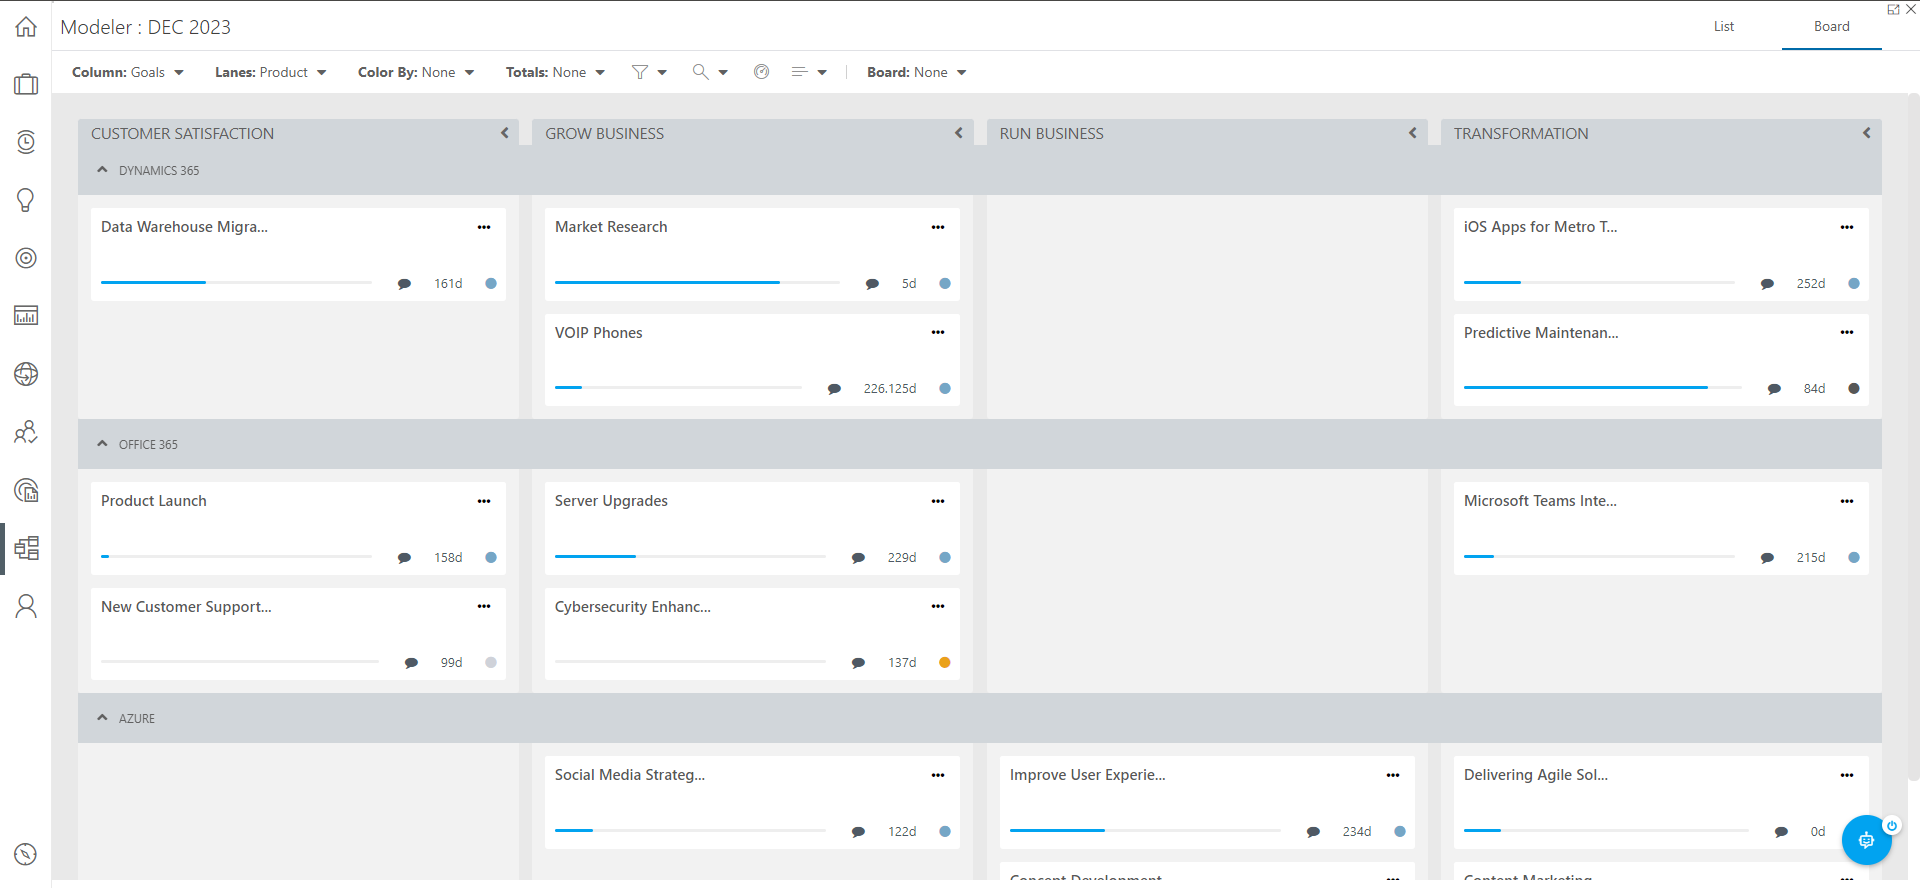
Lanes: Select the plan field want to use for the lanes in the board. For example, I will click on the Lanes menu, and select Product from the drop-down. Now the board will have swim lanes to group the cards by the Product they belong to.
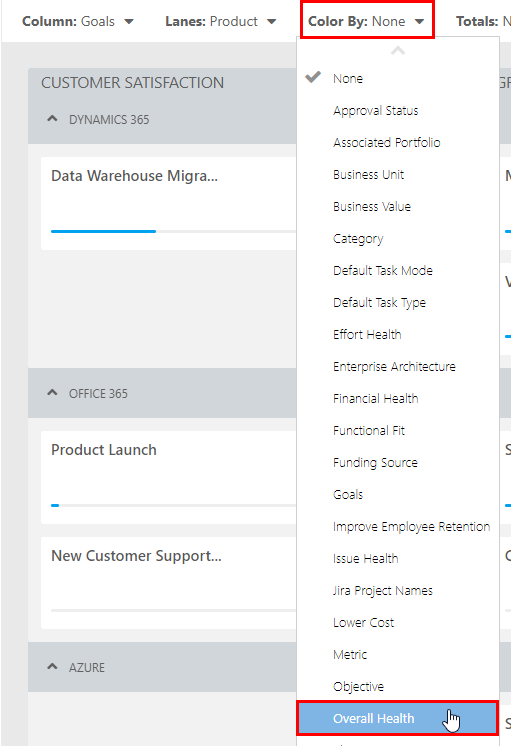
Color By: Select the plan field want to use to color-code the cards on the board. For example, I will click on the Color By menu, and select Overall Health. Now the cards on the board will be color-coded by the project or epic Overall Health.
Totals: Select the plan field want to use as the column totals. For example, I will click on the Totals menu, and select Benefits from the drop-down. Now the column total value is a sum of the Benefits values of all of the projects and epics in the column.
Filter
 : Select plan fields to use as filters to limit the number of items that appear in the board. For example, I might set a filter on the Status field, and only load in projects and epics that have a Status of On Track.
Zoom
 : Select the size of the cards on the board. Options here include Small, Medium, and Large. Large is the default size.
Constraints
 : Set the constraint values for the columns in the board to run some light what-if scenarios. The constraints are based on the value you selected for the Totals. So, in the example I've been using throughout this article, the Totals, and thus the Constraints, are based on the Benefits values of the projects and epics in the board. To set constraints in the board:
Click on the Constraints icon, the Edit [Selected Totals] Constraints form will open.
Select the Constraint Goal. Options include None, Above Constraint, or Below Constraint. Because in this example I am working with Benefits as my Total values, I want to be above the constraint value I will set, as more benefits from projects and epics = more money for the organization. So, I will select Above Constraint.
Set the constraint values for each column. Again, I am working with Benefits in this example. So for each column, I want to set the minimum benefits I want to see from all of the projects and epics in a column. To set these constraint values, click into the Constraint field for each column, and enter the desired value.
Fields
 : Select the plan fields you would like displayed on the cards on the board. For this example, I will also add the Funding Available and Overall Health fields to the cards. To do this, click on the Fields icon, then select the desired fields (Funding Available and Overall Health) from the drop-down. The data from the selected fields will now be displayed on the cards on the board.
Save a Board Scenario
You can save Kanban board scenarios. The column, lane selected, and the order of the plan cards are saved in the scenario.
To save a Kanban board scenario:
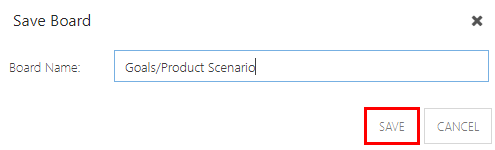
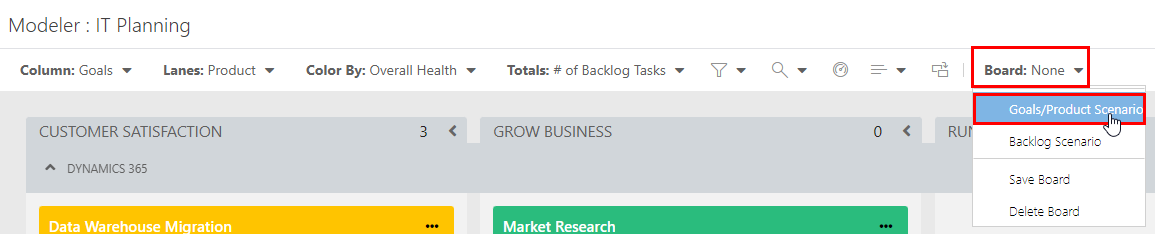
Click the Board menu, and select Save Board from the drop-down menu. The Save Board form will open.

Enter a name for your board scenario in the Board Name field. Then click Save to save your board scenario. The new board scenario will now be available from the Board menu.
Open a Saved Board Scenario
To open a previously saved board scenario:
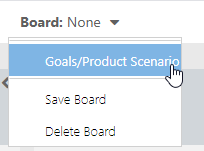
Click the Board menu, and select the scenario you would like to open.
Delete a Board Scenario
To delete a previously saved board scenario:
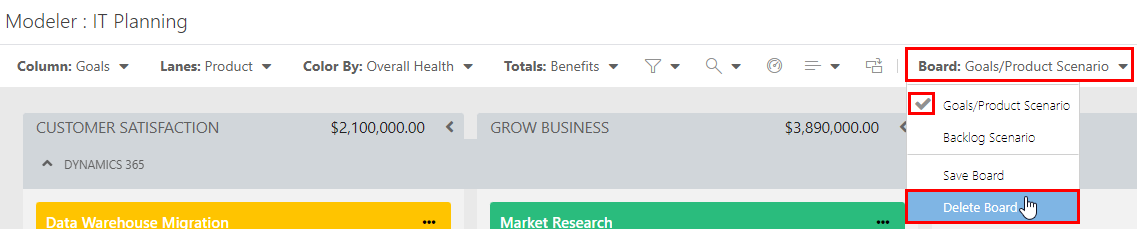
Click the Board menu, and select the scenario you would like to delete.
Note
You must open the board scenario to delete it.
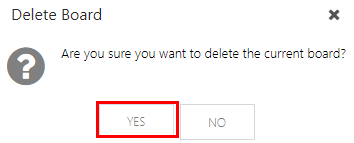
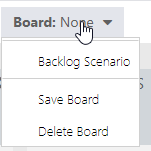
Click the Board menu again, and select Delete Board. The Delete Board confirmation will open. Click Yes to delete the board scenario. When you return to the Board menu, the deleted scenario will no longer be available.