What are the advanced Financial Plan settings?
This article explains how to the advanced financial planning settings for OnePlan.
Go to the Admin pages, select Financial Plan in the navigation. Then, expand the Advanced topic heading. These settings are available when the Advanced Settings are enabled.
Advanced Settings
Allow Users Submit Rows: Allow users to submit rows. When selected/checked, users can submit each row in the financial plan. When submitted, there's a flag field indicating so. If the row gets changed post-submittal, it goes back to unsubmitted.
Allow Detail Rows: Allow detail rows. When selected/checked, users can add cost category rows multiple times. For example, if a user would have a cost category of Software, they could add that cost category multiple times and note in the cost category custom fields the type of software in the notes, etc.
Allow Plan Level Cost Categories: Check this box to allow users to add child level cost categories to each plan.
Default Currency Name: You can change / rename the default currency of USD to the default currency of your choice.

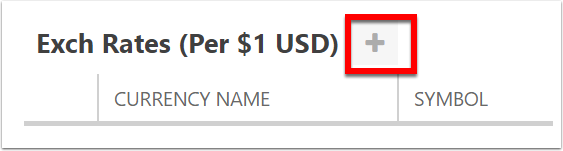
Exchange Rates
Click the New icon.
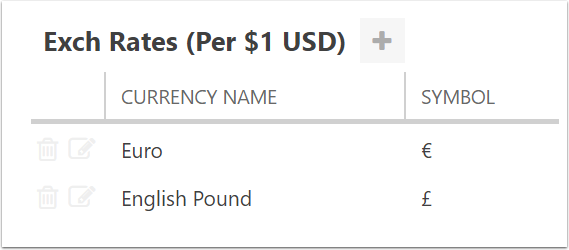
Add exchange rates with the conversion per $1 US Dollar (USD). Enter the dates when that exchange rate is applicable. If the rate won't change, leave the dates blank.
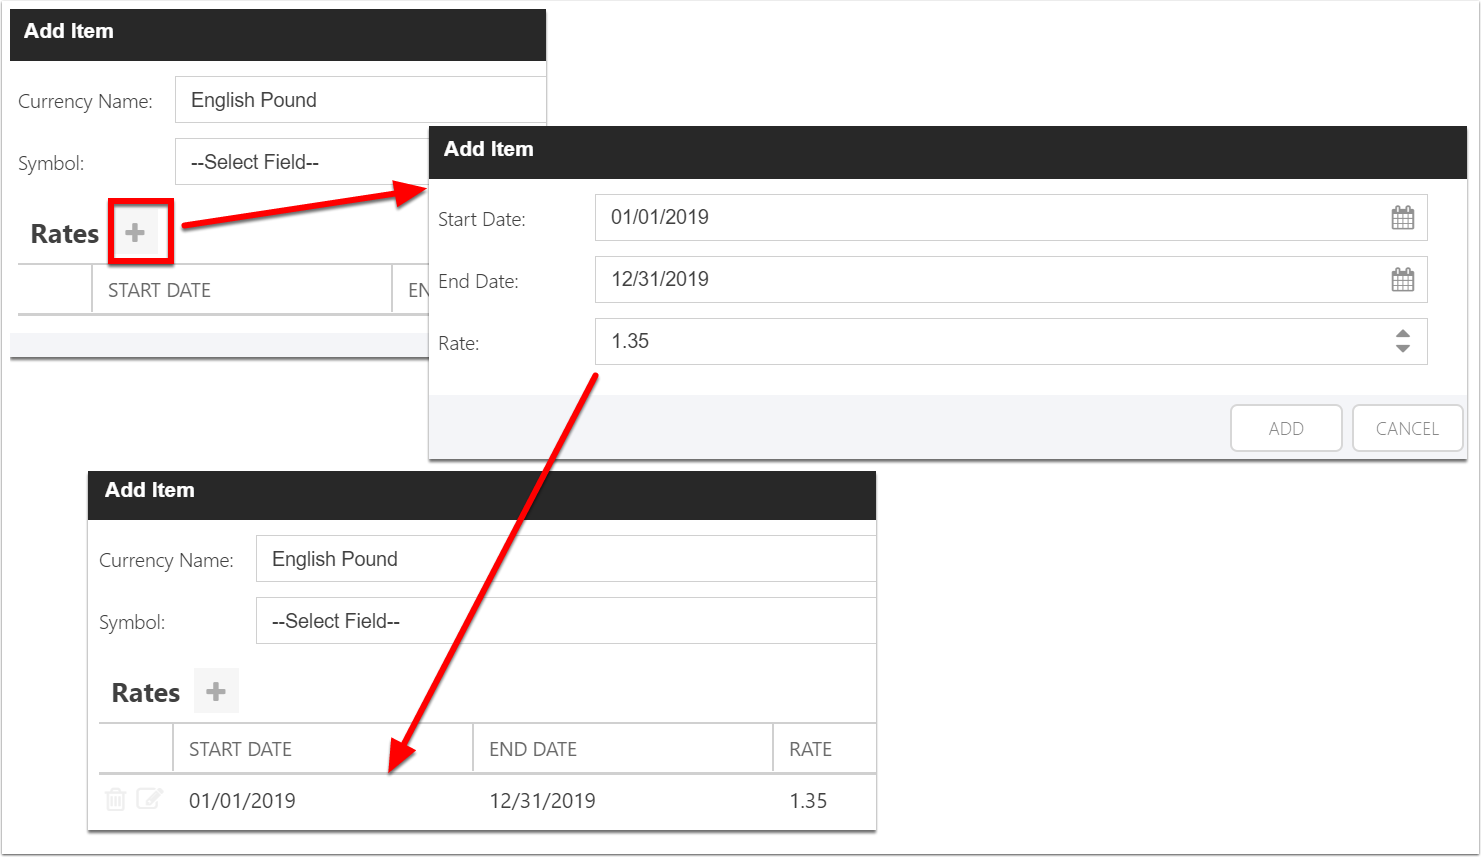
Click the New icon.
Enter Currency Name.
Select a symbol, if that exchange rate's symbol is listed. When you select the symbol on the new form, it will show a code, but on the Exchange Rate settings, the actually symbol shows.
Rates Table
Click the New icon for the Rates table.
Enter the Start date for the rate, if applicable.
Enter the End date, if applicable. If End Date is left blank, the rate will be set ongoing for all future planning periods (months, years, etc.).
Enter the hourly ExchangeRate value.
Custom Permissions
By default, when a user is added to a plan team, those with Reader access can see all the details of the plan, except for the financial plan. Those with Contributor access can edit the plan details, except for the financial plan, which they can only see/read.
Click the New button.
Select the permission: either Read/Write or Read Only.
Select the plan access level(s): Select Reader and/or Contributor. If you want the Readers & Contributors to have different access, follow the steps twice.
