Enter a time off request
This article explains how to enter a time off request. Time off in OnePlan will update the resource pool to allow for accurate scheduling.
If you are an approver, see Time off request notifications and approvals.
Go to My Work.
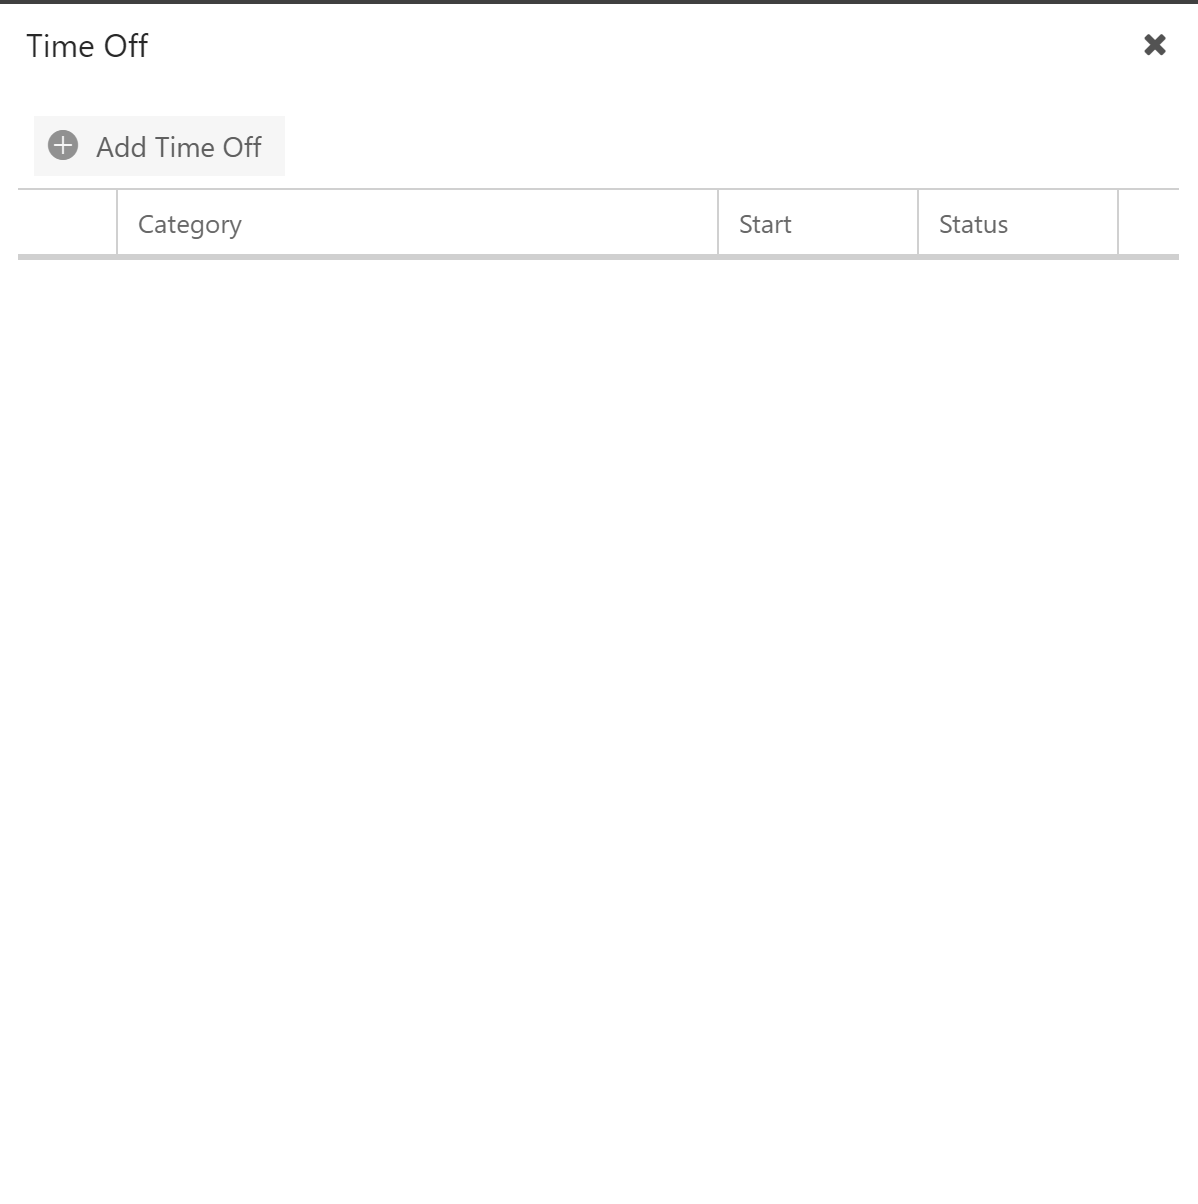
Click Time Off. The Time Off window will open.

Click Add Time Off. The Add Time Off form will open.
Complete the Add Time Off form.
Select Resource: Only editable for Owners and Managers. Search for and select the resource to create a time off request for. For Team Members, this field will be auto-filled with your name.
Category: Select the time off category. These categories are configured by your OnePlan administrator.
Start: Select the time off start date.
End: Select the time off end date.
Hours Per Day: Select the number of time off hours per day within the set date range.
Notes: Enter any notes that the approving manager may need.
Status: Only available for Owners and Managers. Select the status of the time off request upon submission. Options include Approved, Requested, and Rejected.
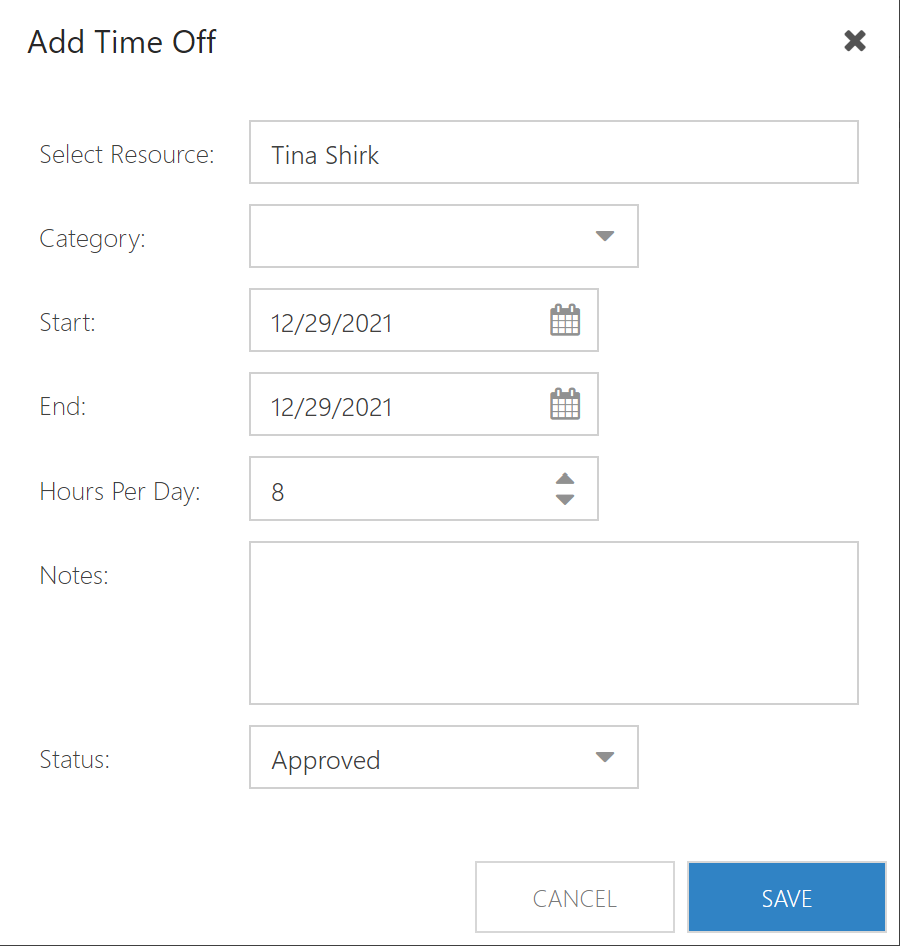
Click Save. The time off request is now submitted. In the Time Off window, you will see a list of all of your time off requests and their statuses.
