How do I set Resource Managers?
This article explains how to indicate who the resource managers are. This is important for who is responsible to review/approve the resource plan commitments for the resources, when the Resource Negotiations feature is enabled.
Go to the Admin pages, select Users in the navigation. Then, expand the Resource Managers topic heading.
When resource managers are set, a pre-filter is automatically created for the Resource Planner. See How the Resource Manager pre-filter works for more information.
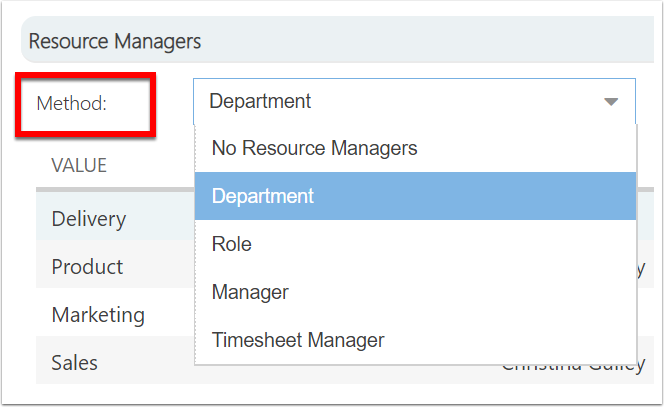
1. Select Method
Method: Select No Resource Managers, Department, Role, Manager, Timesheet Manager.
Note: Timesheet Manager only shows if the Timesheets App has been added.
Based on the selection here, the resource manager will be the user who reviews and approves resource plan allocations. This applies if the Resource Negotiations are enabled. If Negotiations are disabled, select No Resource Managers as the method.
If you select Manager or Timesheet Manager as the method, the field values from each resource's form will be the resource manager. If you select Department or Role, follow the next steps to designate managers and delegates.
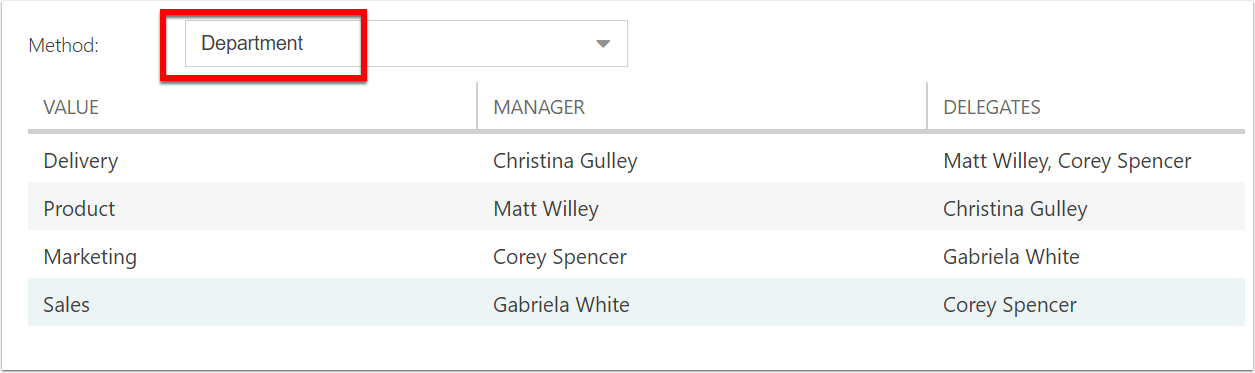
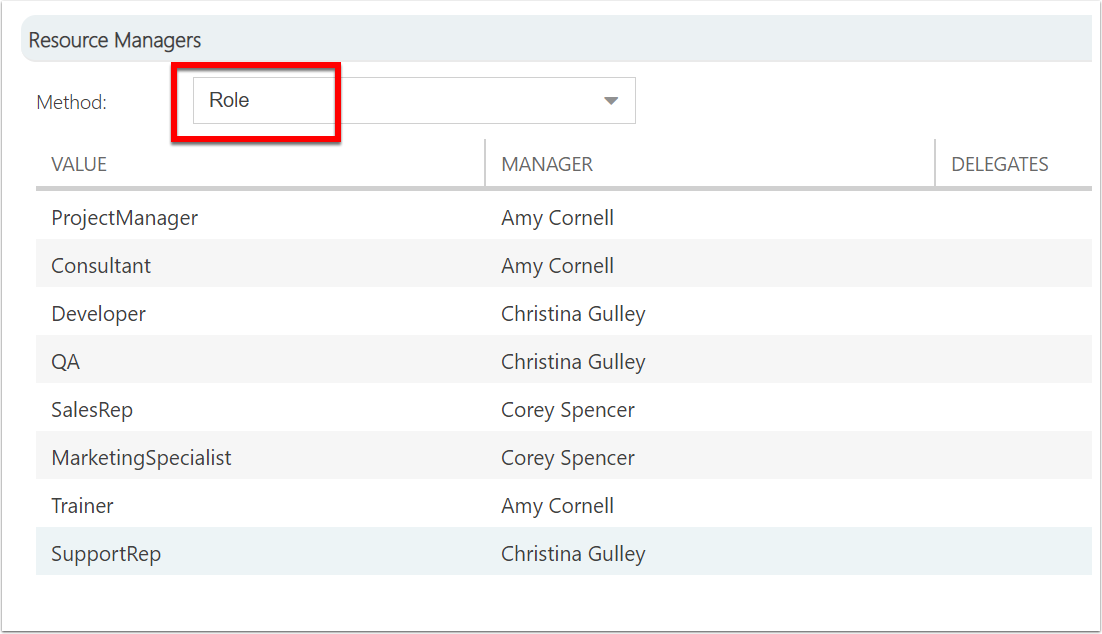
2. Designate the Manager
If you select Department or Role, a table with the configured departments or roles shows. Departments and Roles are both configured on the Fields admin page, under the Resource topic heading. Designate the one manager for each department or role, based on method selected.
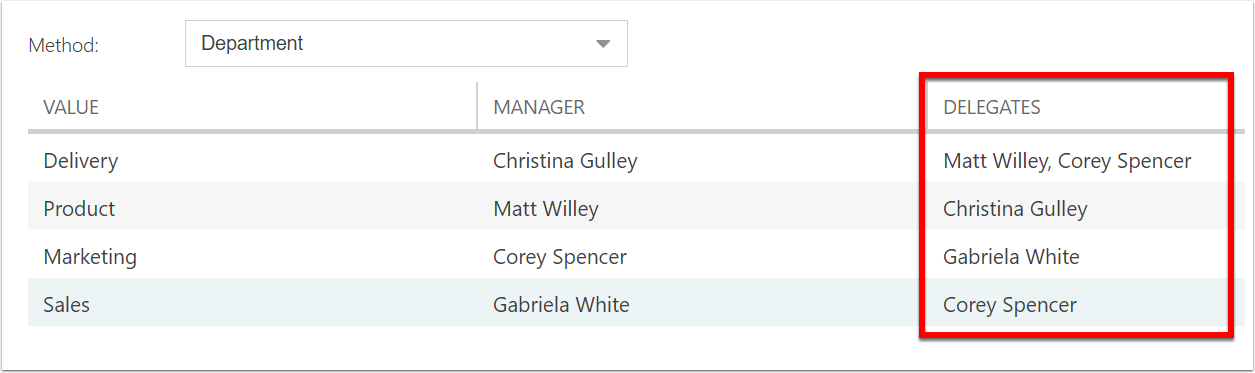
3. Designate Delegates
Designate the delegates (multiple allowed) for each department or role, based on method selected. These are the default delegates for each department or role. Each manager will also be able to change the delegates for any groups that they are the designated manager.