How do I set up the Details Process Flow stages?
This article explains how to manage the Process Flow on the Plan Details page in OnePlan. This requires the Plan Details App be installed.
Go to the Admin pages, select Plan Details in the navigation.
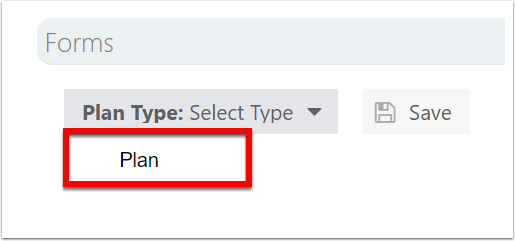
Select Plan Type
On the Plan Details setting page, expand the Forms topic heading.
If multiple plan types are in use, each plan type may have differently configured details pages. Select the desired plan type to configure.
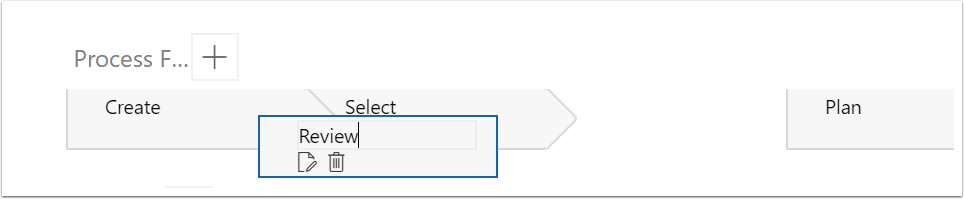
Add Process Flow Stage
Click the [+] icon to add a new stage/phase to the process flow. After the stage is create, select any stage to edit or delete.

Edit Process Flow Stages
Rename Stage

Drag Stage
Initially, the new stage will be added at the end. Drag the stage to the appropriate place in the process.
Click any existing stage to edit or delete.
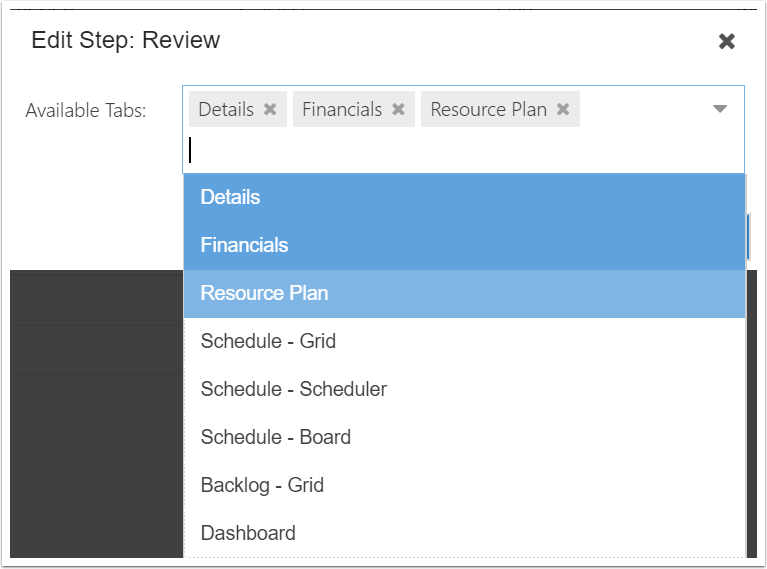
Edit Stage Tabs
Click the Edit icon. Select which tabs to show along the top of the plan. Select none, one, or multiple by clicking to select and deselect. A use case for this could be the following scenario:
When a new plan is in the Create stage, perhaps only the Details, Financials and Resource Plan tabs will show. Then, in the Review stage, show the Dashboard tab as well. Then, when the plan moves into the Plan stage, the Schedule and/or Backlog tabs could also be added to show, for execution. This is just an example. Your organization may show some or all tabs for all stages, or whatever is best applicable to your process and use case.

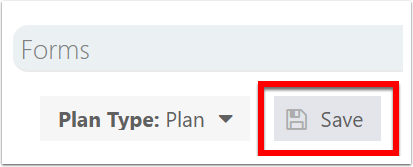
Save Changes
Changes to the Details page are not automatically saved. Click the Save button to save changes.
New Process Flow Stage with Selected Tabs Shown
