View your personal resource plan in My Work
This article explains how to view your personal resource plan in My Work.
The personal resource plan allows users to see which plans they should be working on and if they are over or under allocated.
Access your personal resource
Go to My Work.
Click Resource Plan. Your resource plan will open.

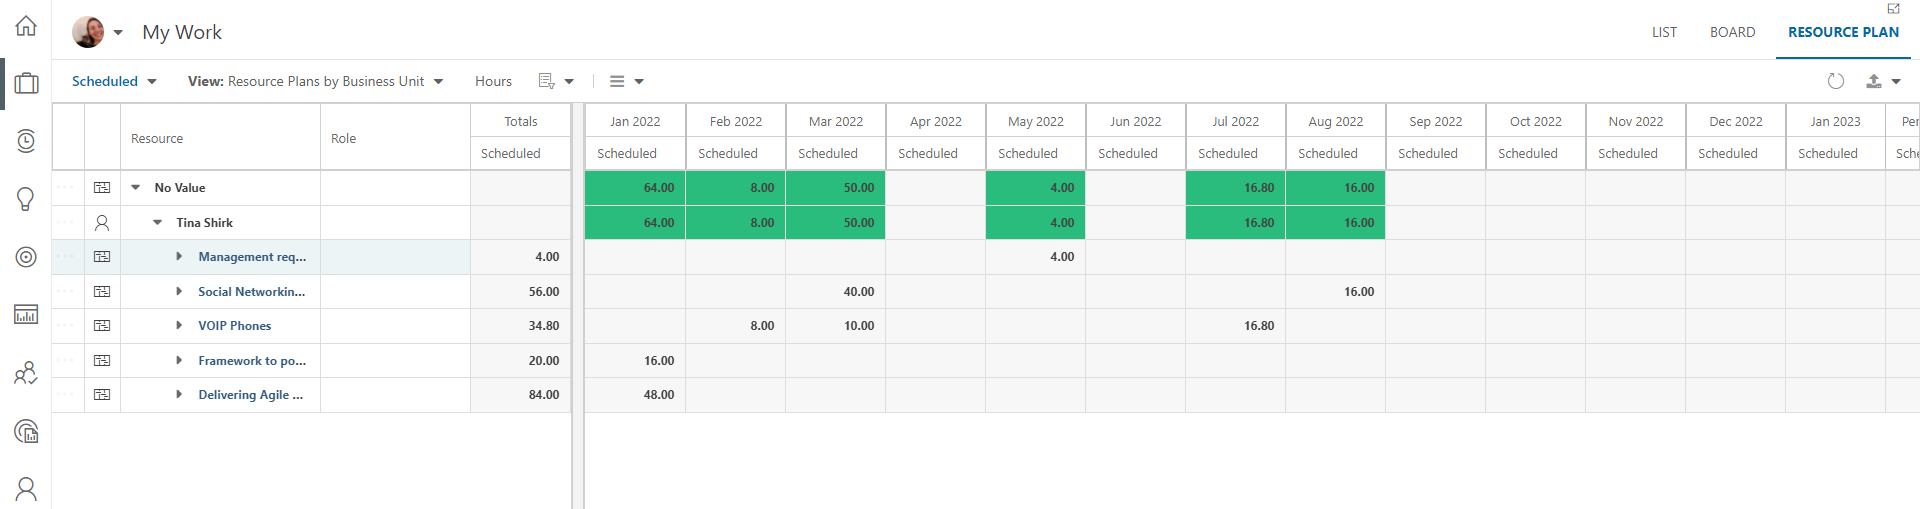
Use your personal resource plan
Select the cost type
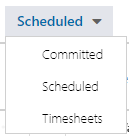
Select which cost type you would like to review in your resource plan, such as Scheduled or Committed.
Note
Cost types are configured by your OnePlan administrator and will vary.
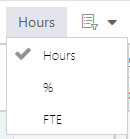
Select the planning mode
Select the planning mode you would like to review your resource plan in. Options include Hours, % (percent), and FTE (full time equivalent).
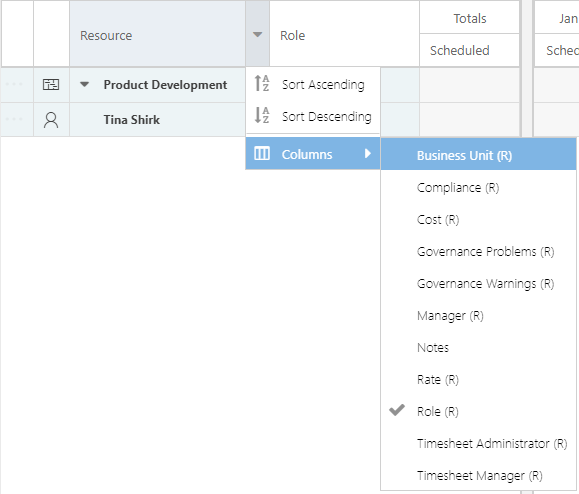
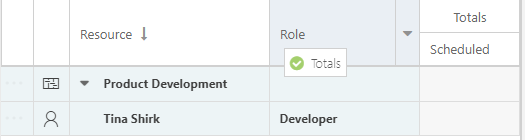
Add or remove columns
You can add or remove columns in the left pane of the resource plan.

Click the arrow next to a column header to open the column menu.
Go to Columns, and select or deselect the desired column(s).
Columns in the view have a check mark next to them.
Click on selected columns again to remove them from the view.
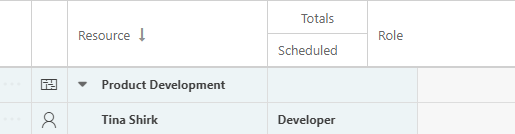
Move columns
To move a column, drag and drop the desired column header into a new location.
Note
You can only move columns in the left pane of the resource plan.
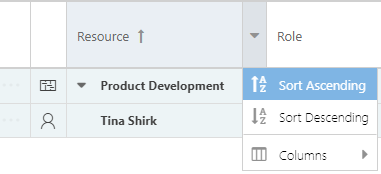
Sort columns
Click on a column header to sort. You can toggle between ascending and descending order.
You can also click the arrow next to a column header to open the column menu, then select Sort Ascending or Sort Descending.
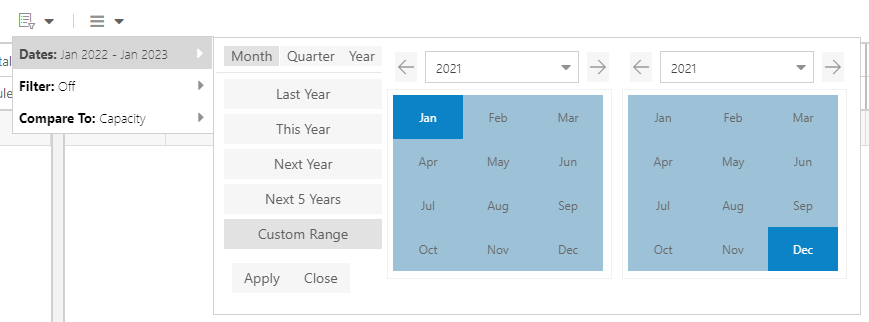
Set the date range
To set the date range you would like to view in the resource plan:
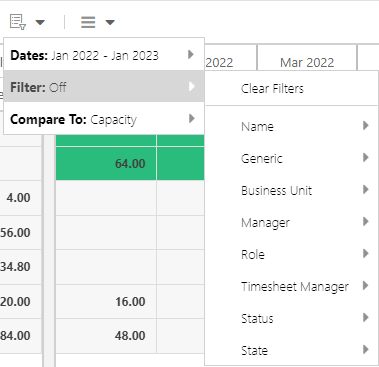
Go to the filters icon > Dates, then set the date range using the dates form. You can select a date range preset, or set a custom range.
Apply filters
Go to the filters icon > Filter, then select the desired filter(s) from the menu.
Click Clear Filters to remove all filters in the view.
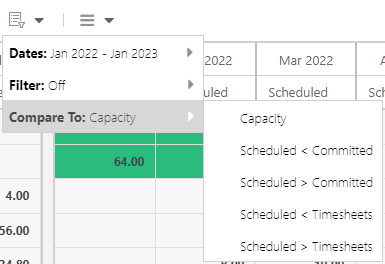
Compare To
Select the method to compare your resource usage against.
Go to the filters icon > Compare To, then select the desired comparison from the menu.
Select, save, and delete views
To apply a previously saved view, go to the Views menu, then select the desired view.
Default / global views are on the top of the views list. These views can be created by administrators and are available to all users in the OnePlan group.
Personal views are below the global views. All users can create personal views, and they are only available to the user who created them.

To save a new view:
Go to the Views menu > Save View. The Save View form will open.
Complete the Save View form.
View Name: Enter the name of the new view.
Default View: Check the check box if the new view is a default / global view.
Personal View: Check the check box if the new view is a personal view.
Click Save. The new view will appear in the Views menu.

To delete a view:
Go to the Views menu > Delete View. The Delete View warning will open.
Click Yes to delete the currently applied view. The view will be removed from the Views menu.
